
Writer
Formatting Documents for Colours, Logos & Fonts Outside of Everbility
How to format your documents to include your colours, logos & fonts outside of Everbility
Everbility does support automatic letterheads, logos, headers, footers, fonts and margins when you export to Word. To set that up, take a look at DOCX Export Styles.
Create a Word Document Template
Open a New Document
- Open Microsoft Word.
- Click Blank Document.
- Add your logo and any other design elements you want to include (headers, footers etc.)
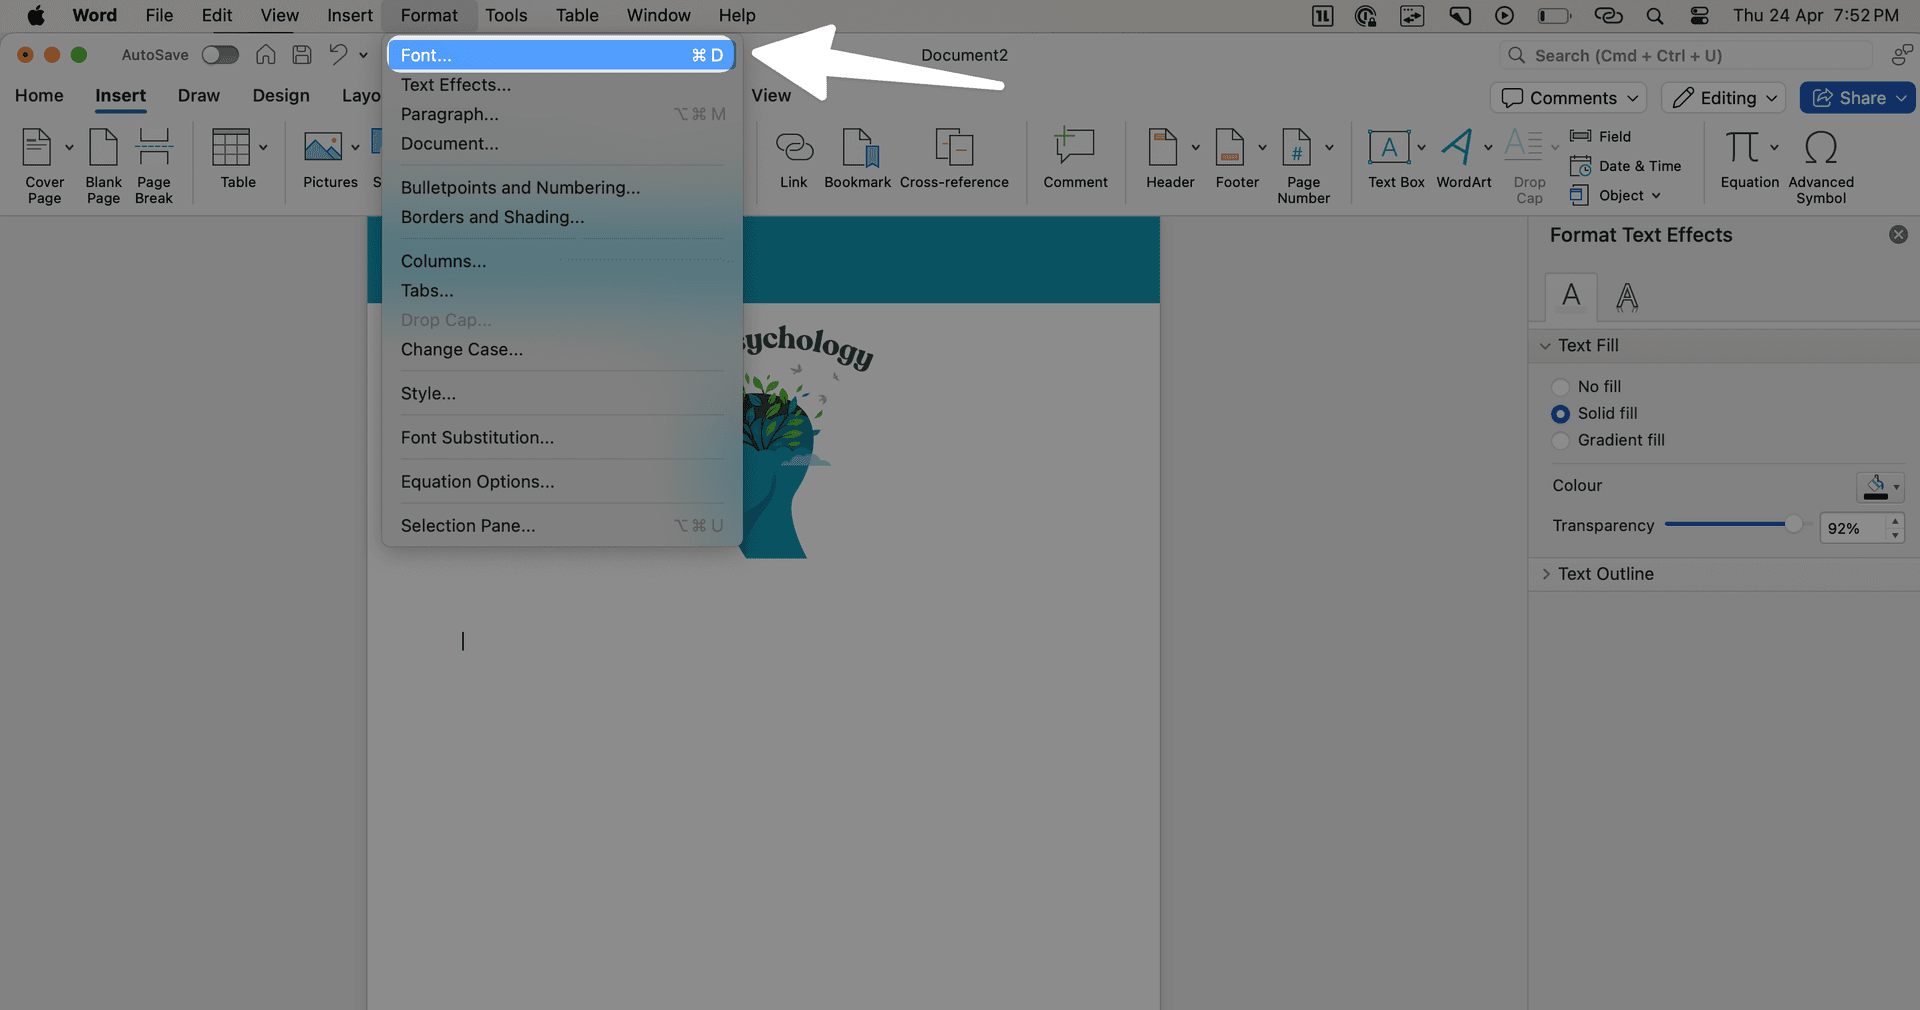
Set Your Preferred Font and Font Sizes
- Click on
Formatand then click onFont.
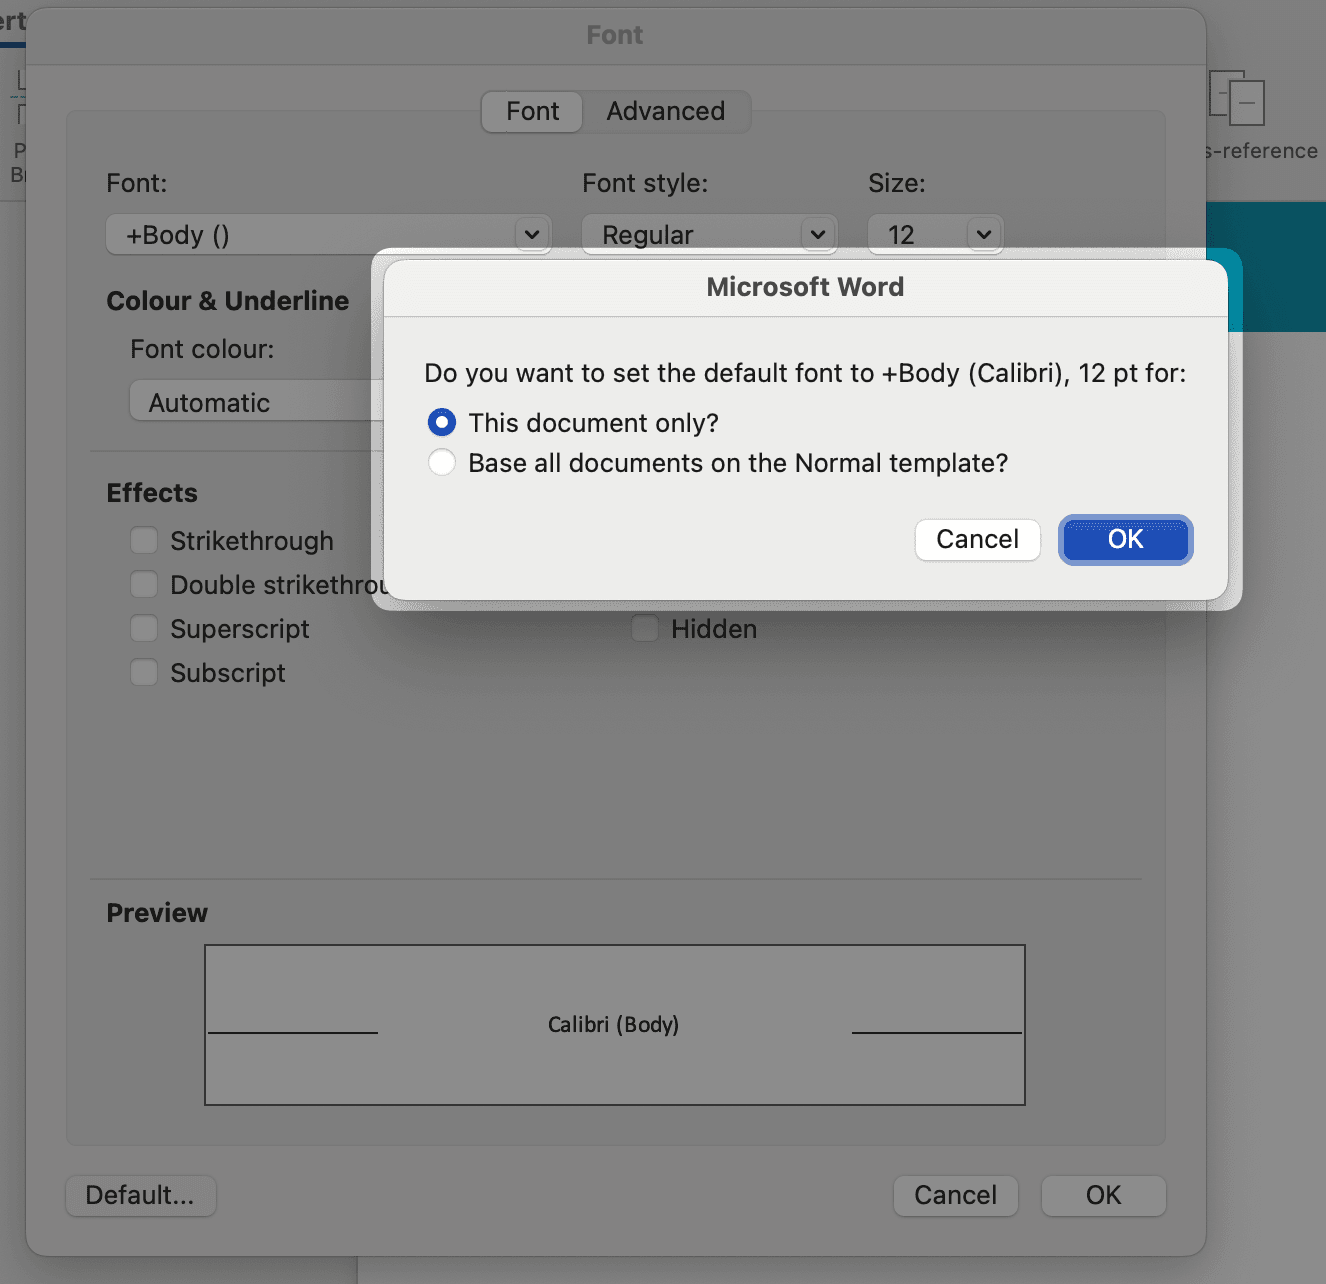
(1) In the Font pop up, you can set:
- Font (e.g., Calibri, Georgia, Arial, etc.)
- Size (e.g., 11, 12, etc.)
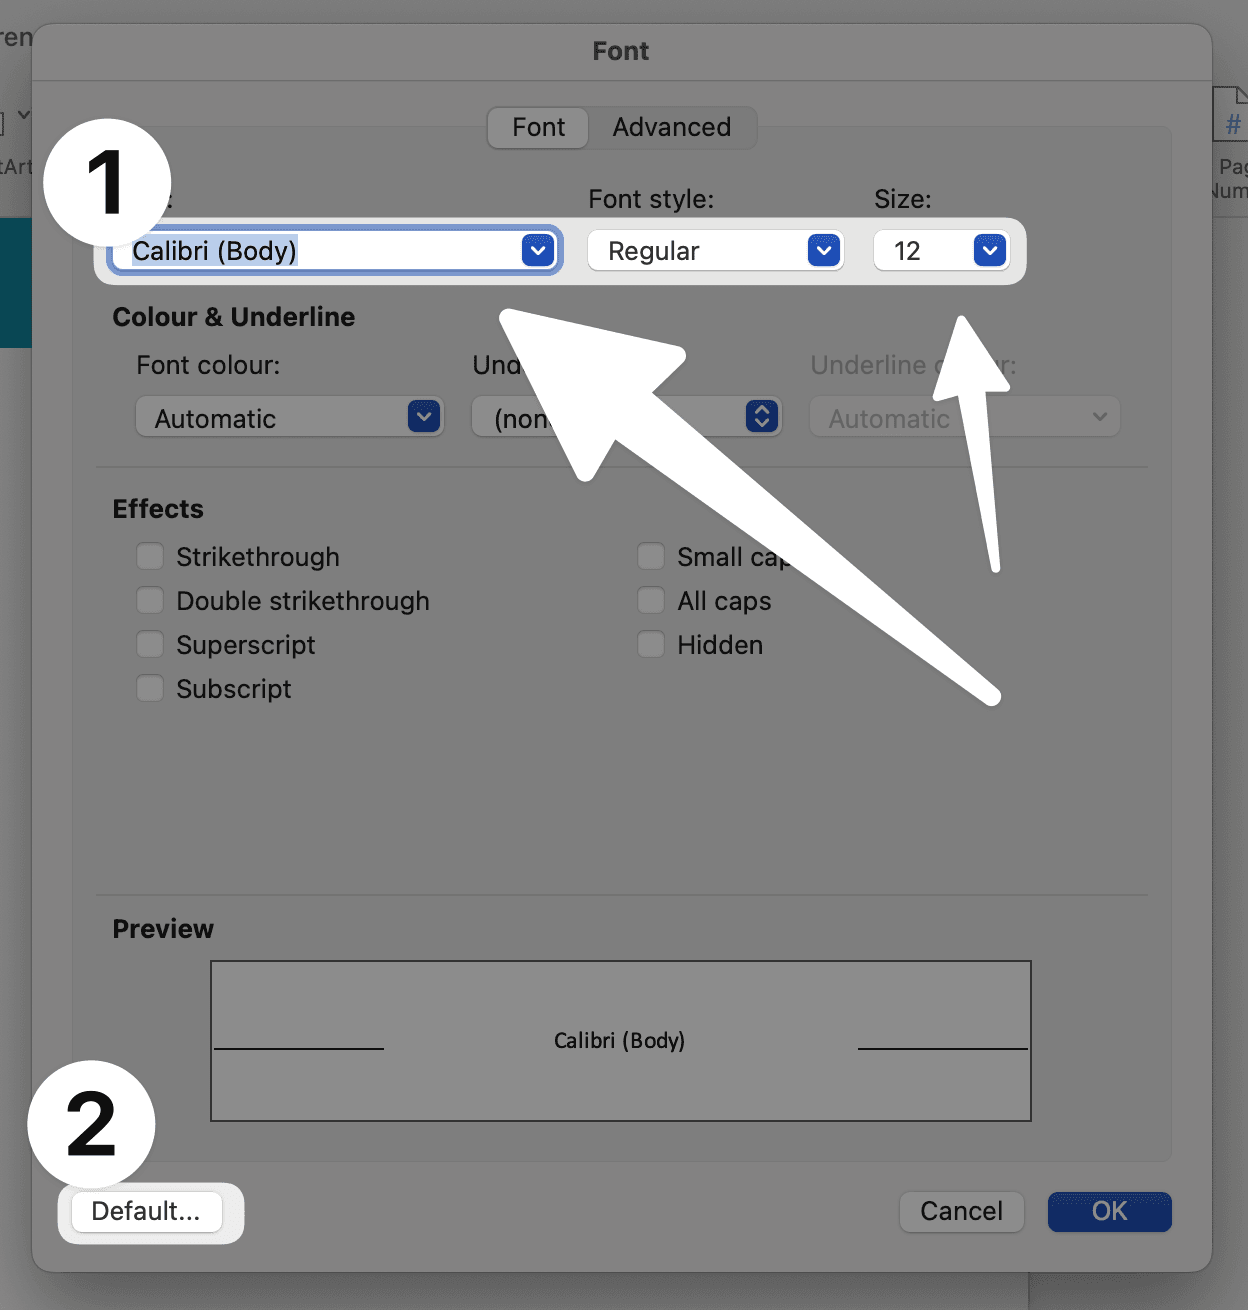
(2) Select default to apply this to all of your text and choose if you want to apply this to this document only or to all documents.
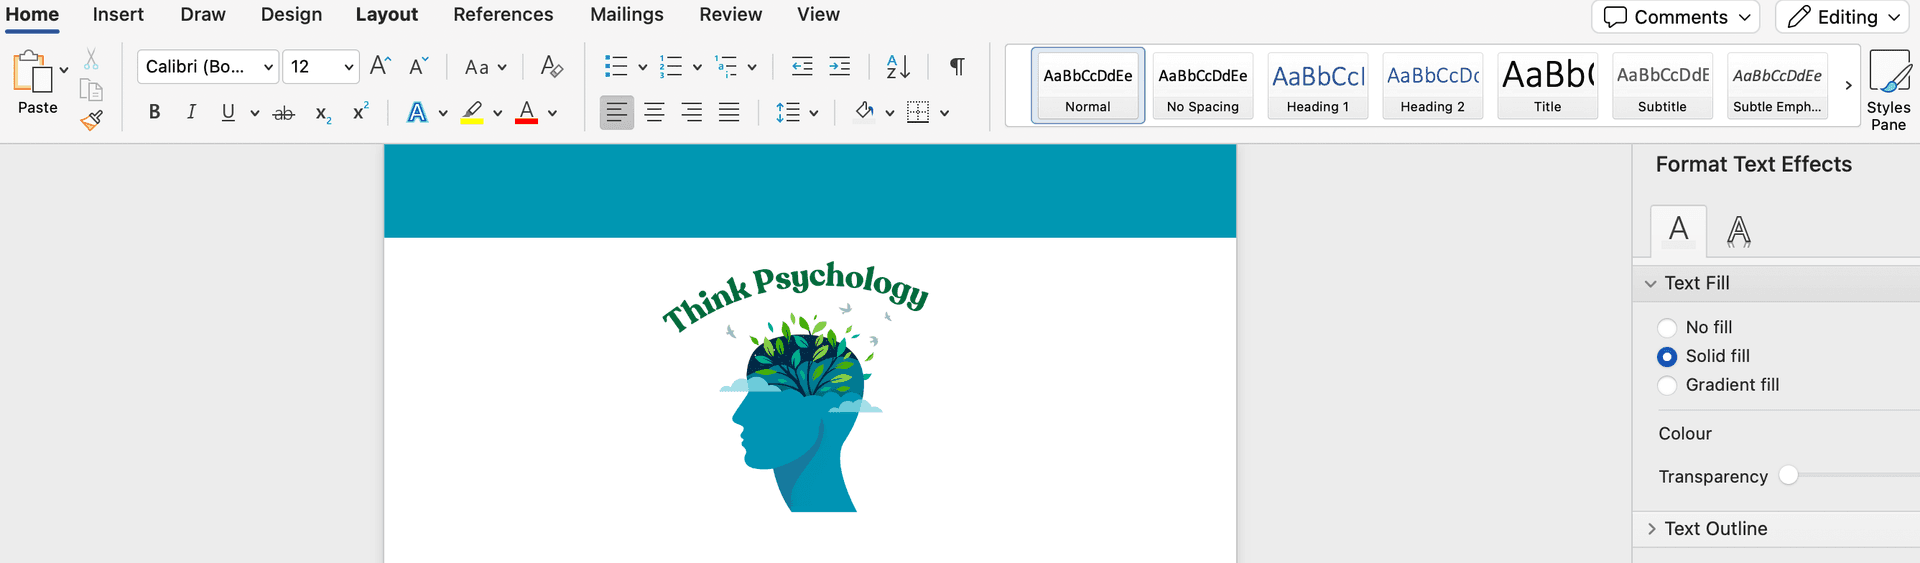
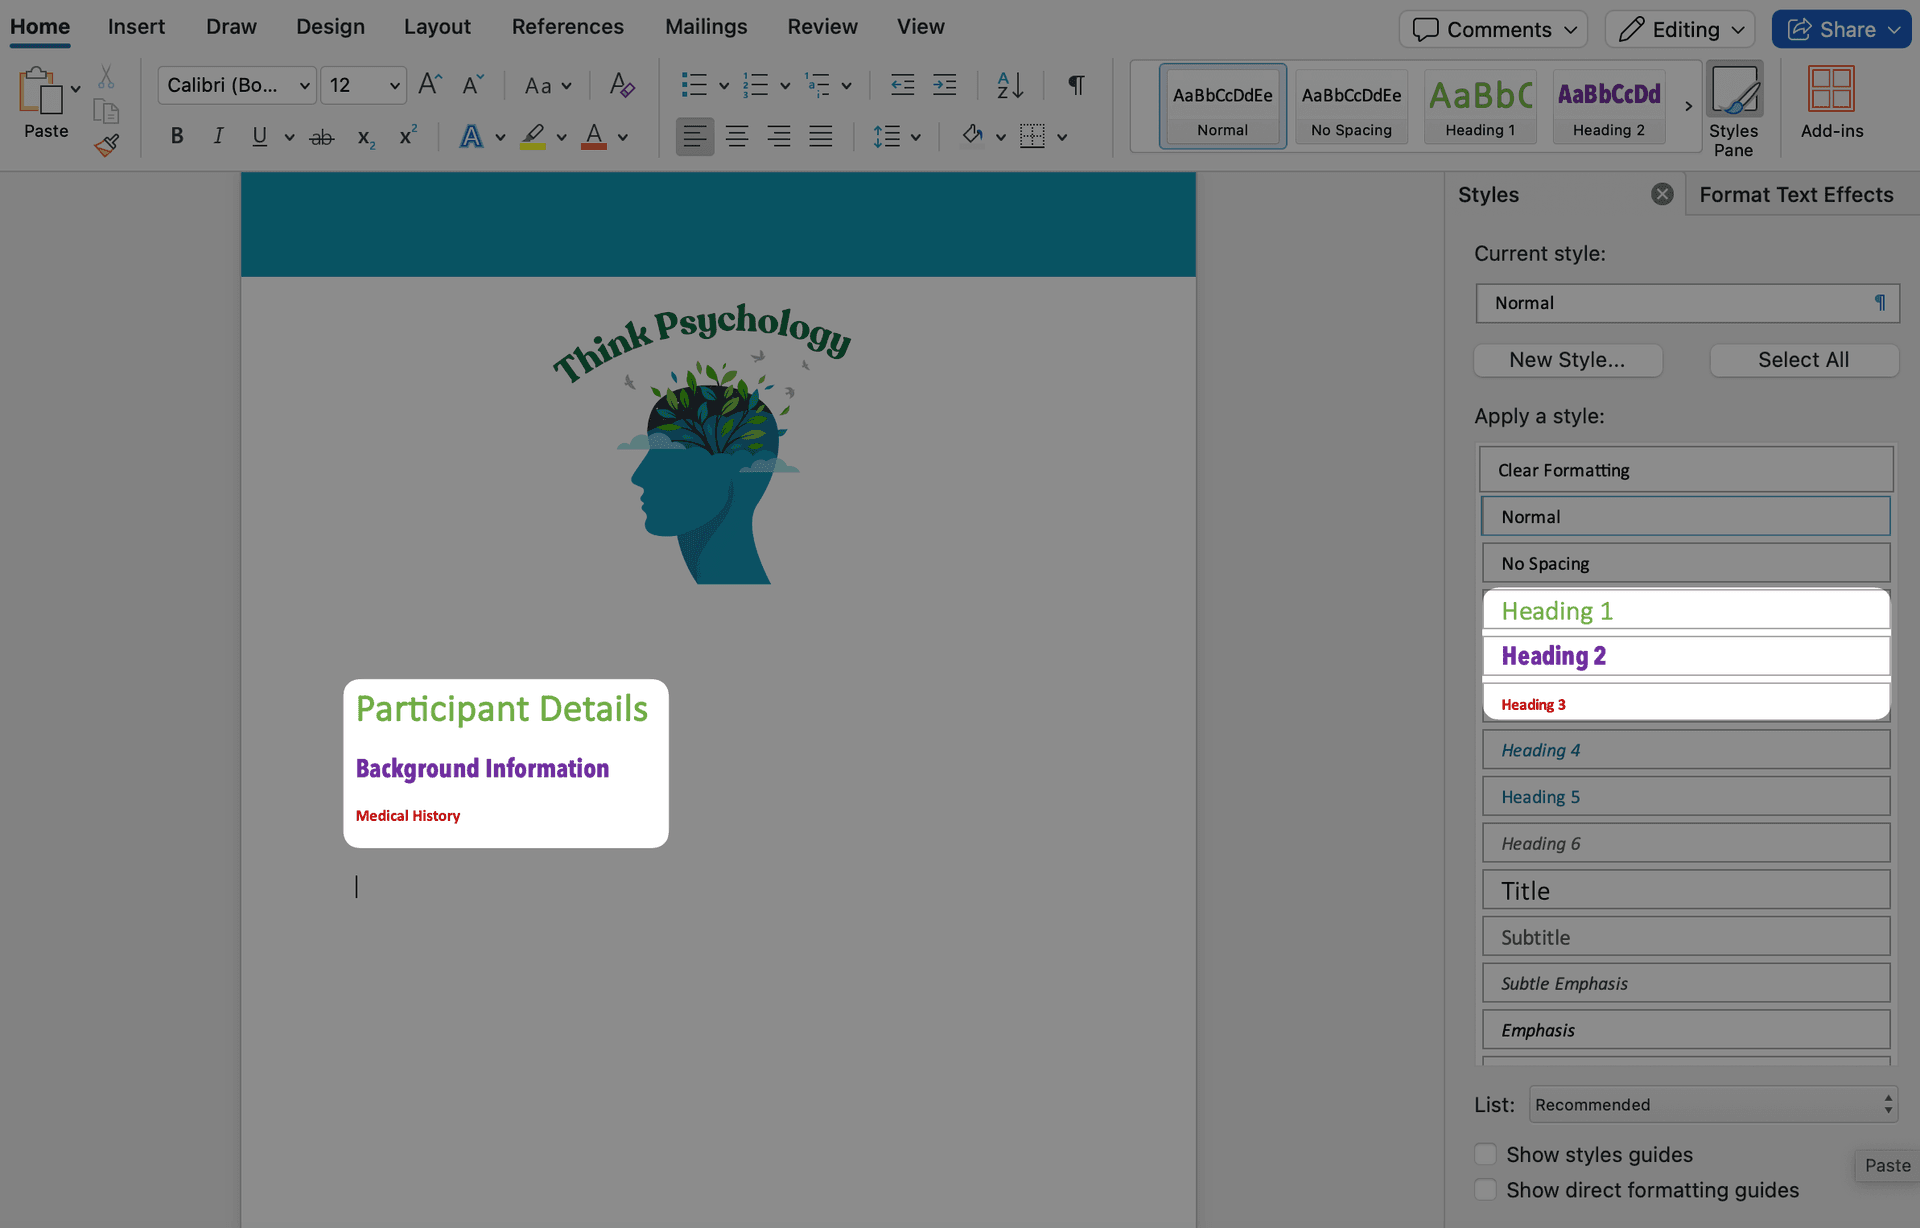
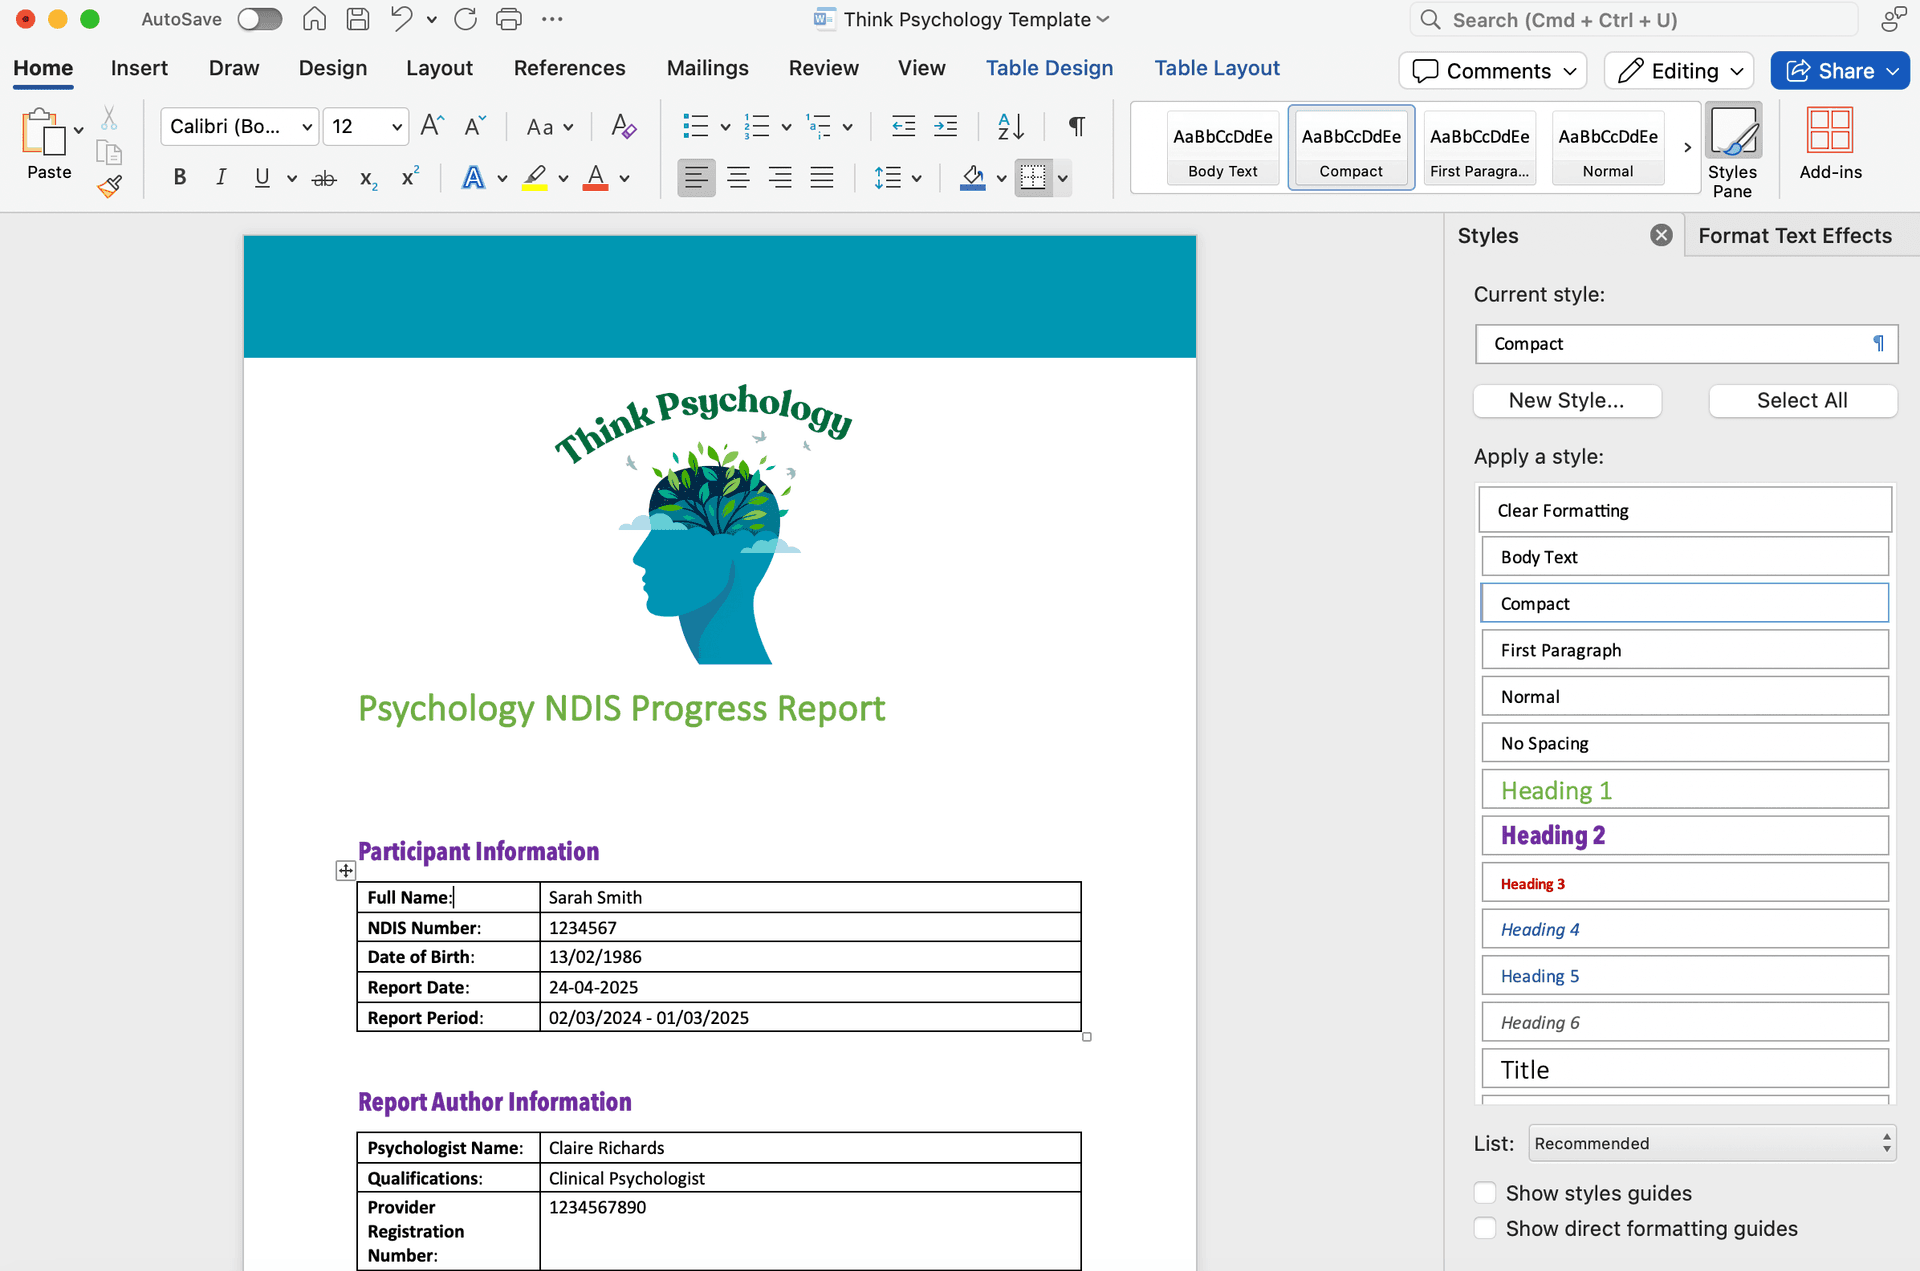
Set Your Preferred Colours (Font Colours)
- Select
Styles Pane.
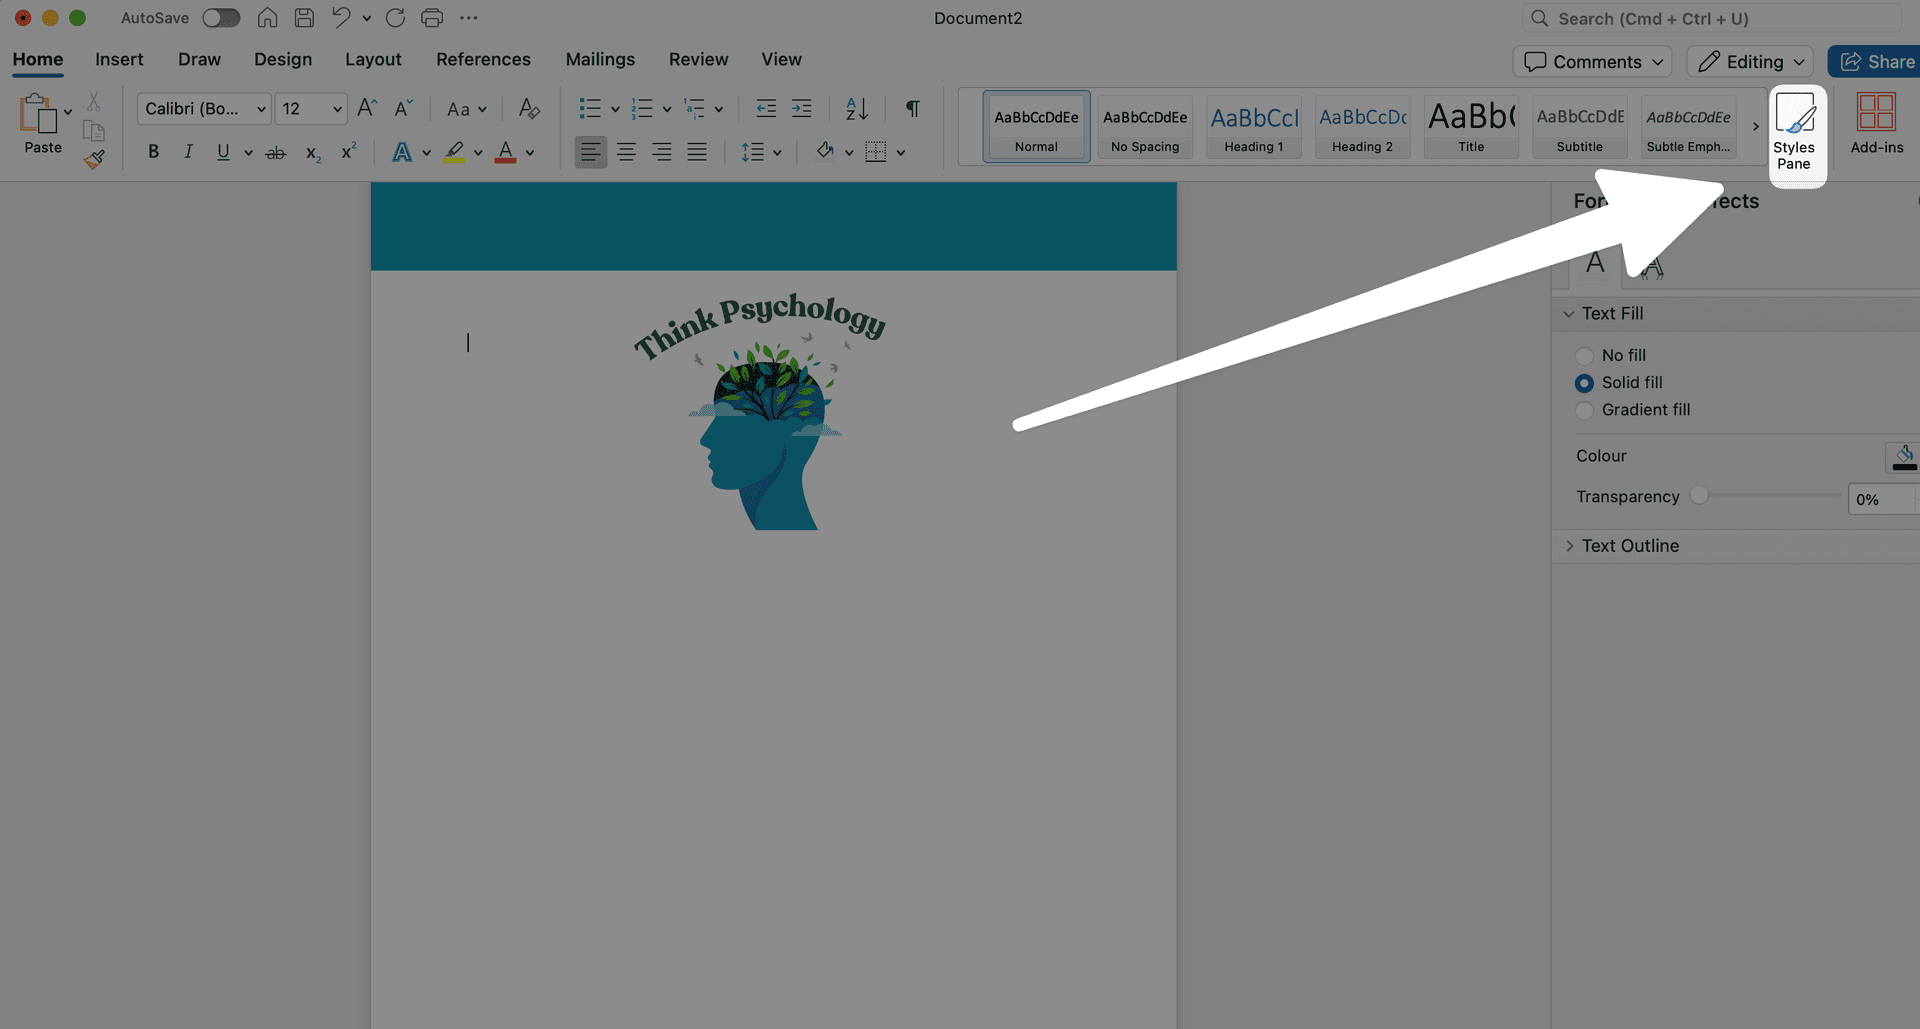
This will show you all of the headings/ text that you can customise.
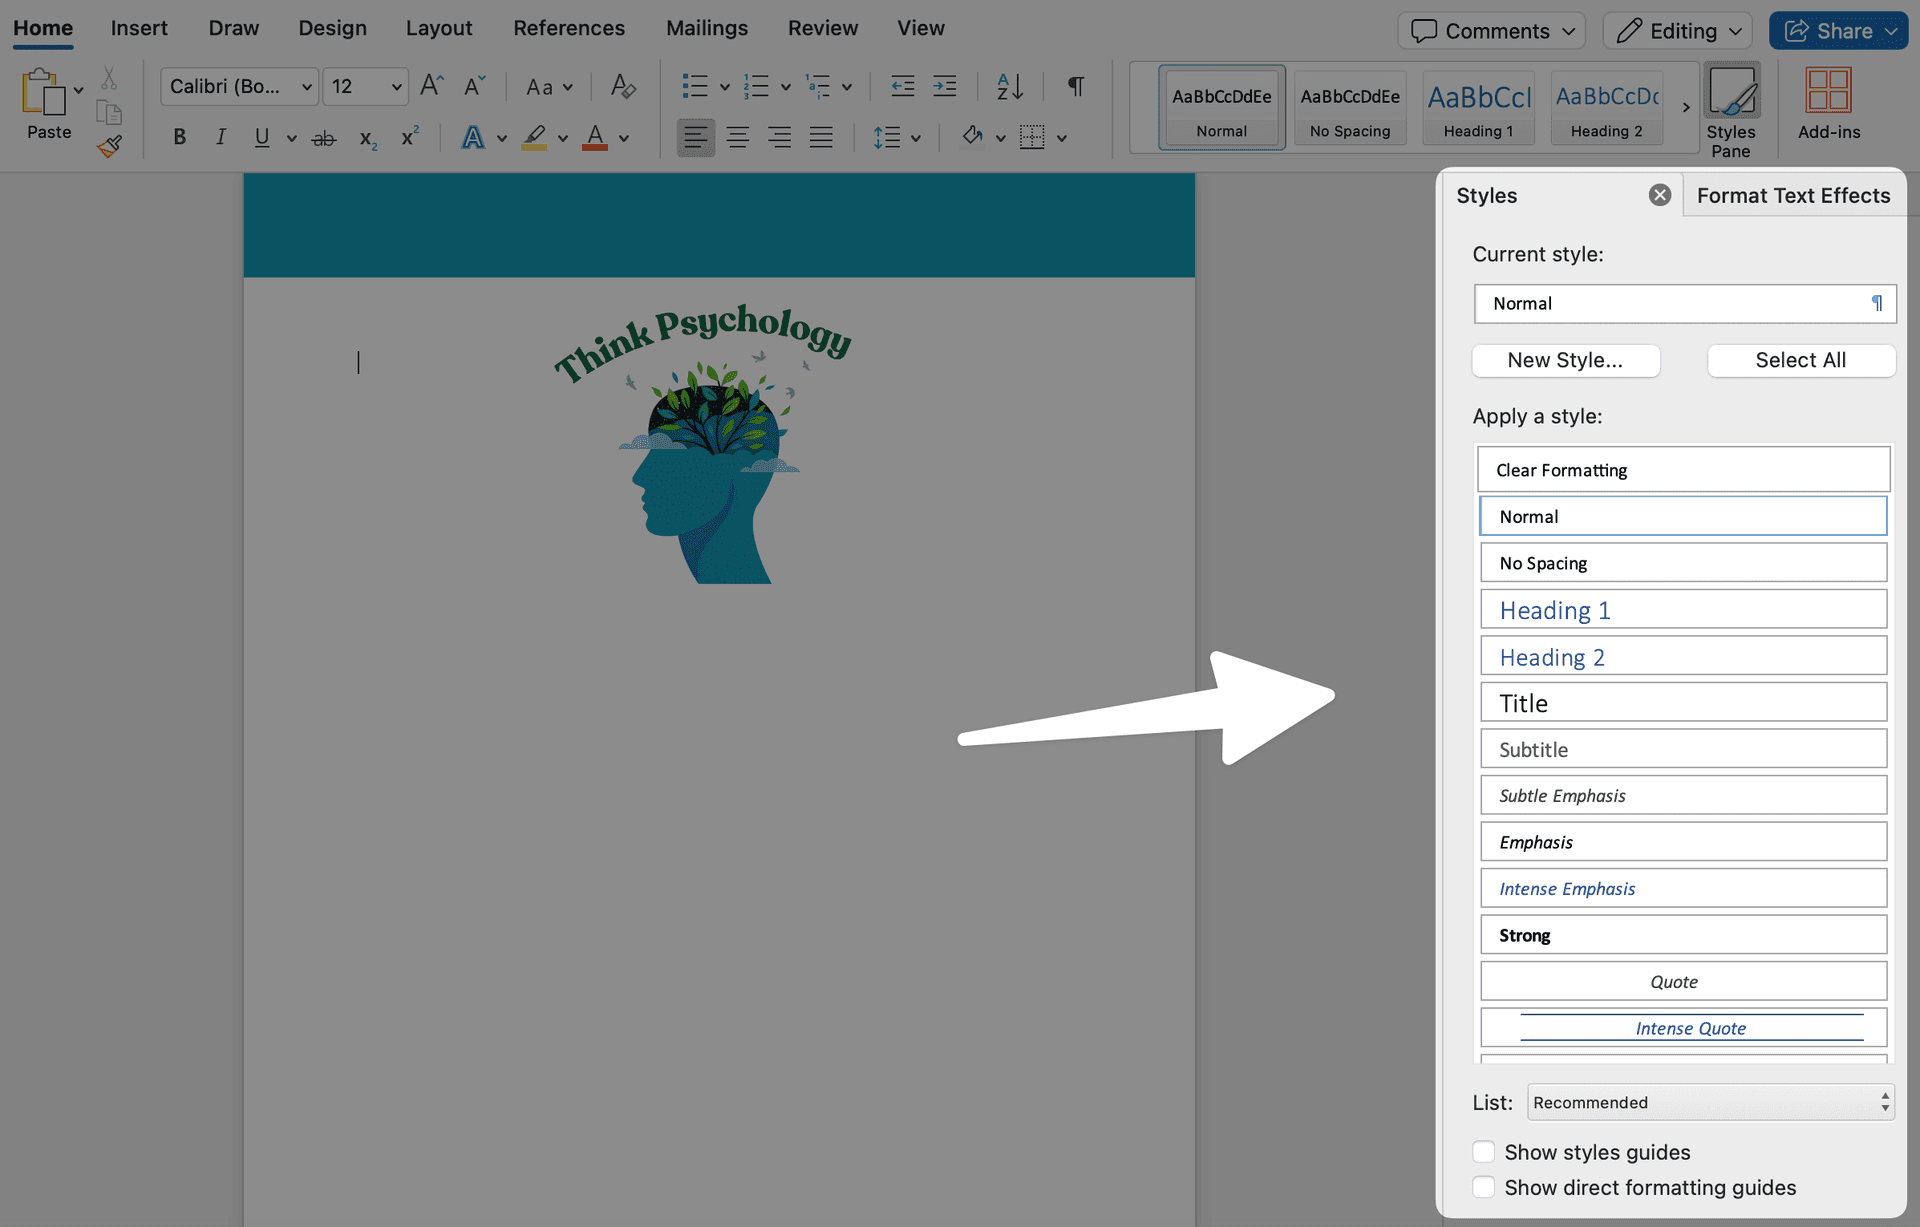
For this tutorial, we will focus on Heading 1, Heading 2, Heading 3 and Normal text which correspond to your Everbility document.
In the Word Document:

In the Everbility Document:
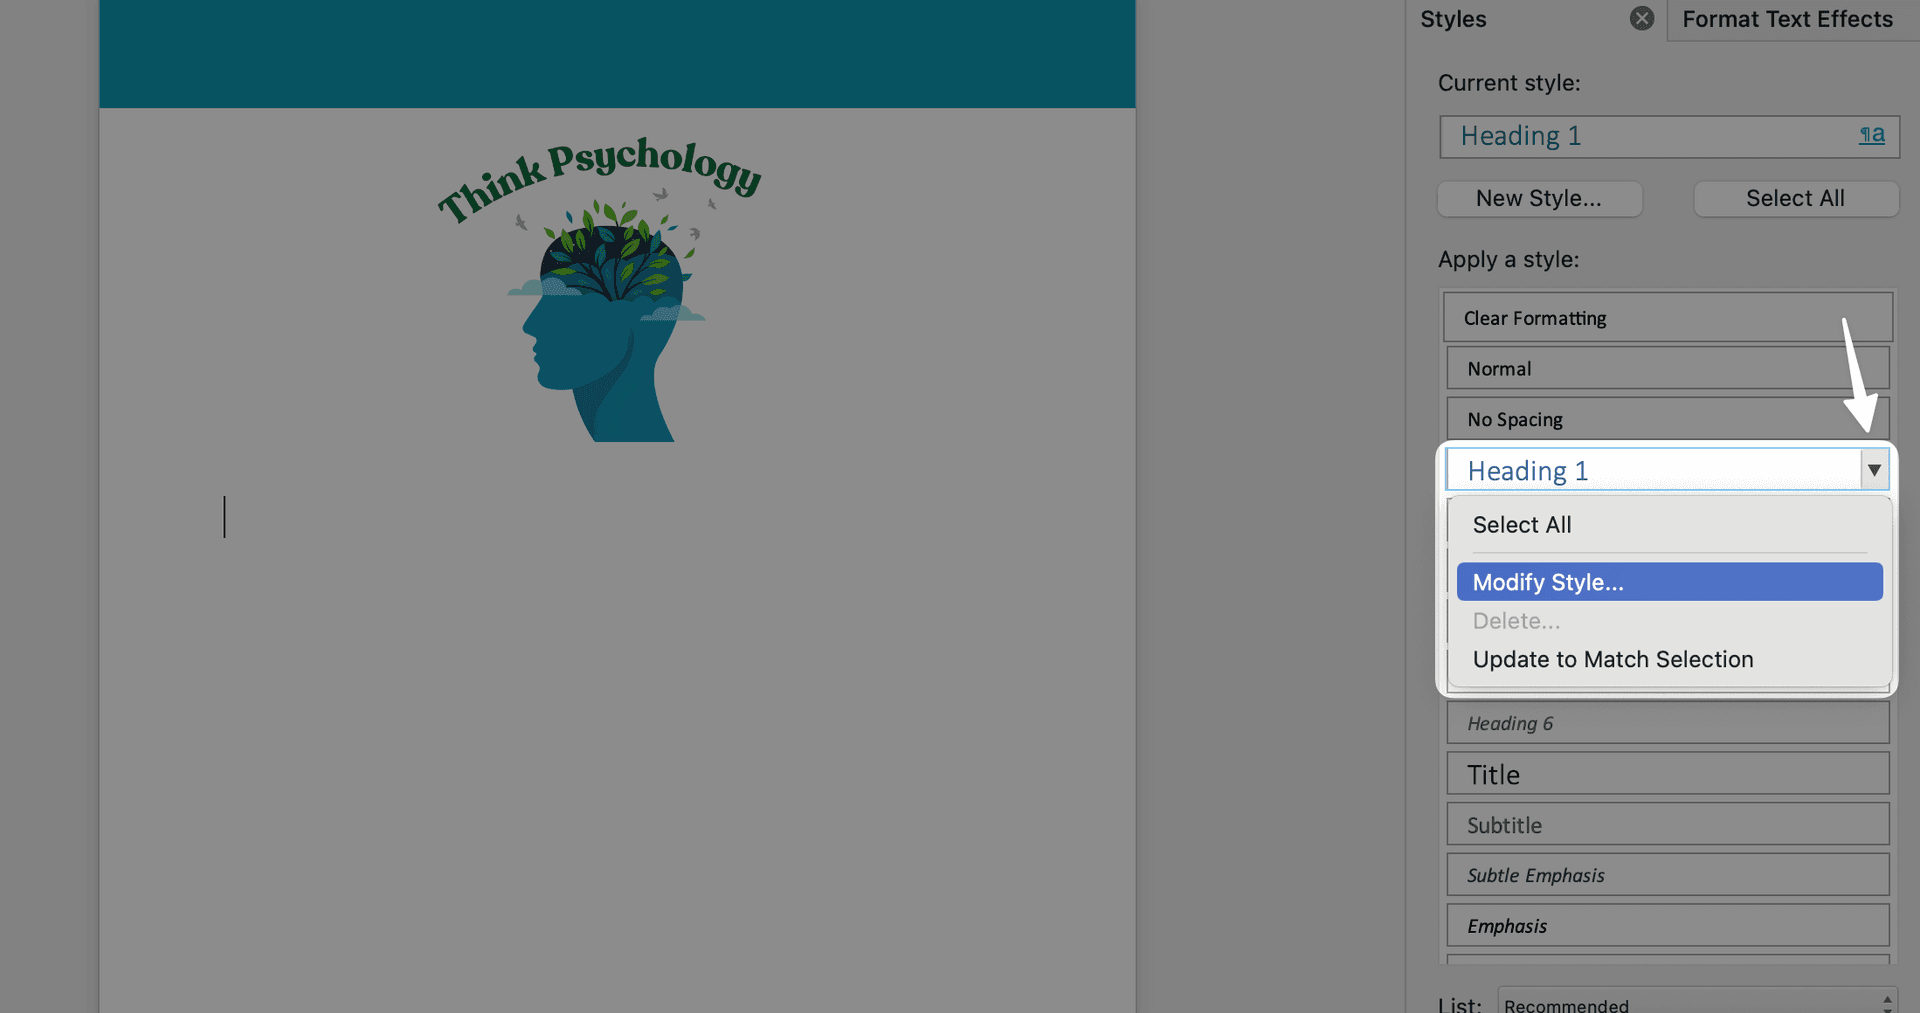
For each headng in the word document, click on the down arrow and select Modify Style.
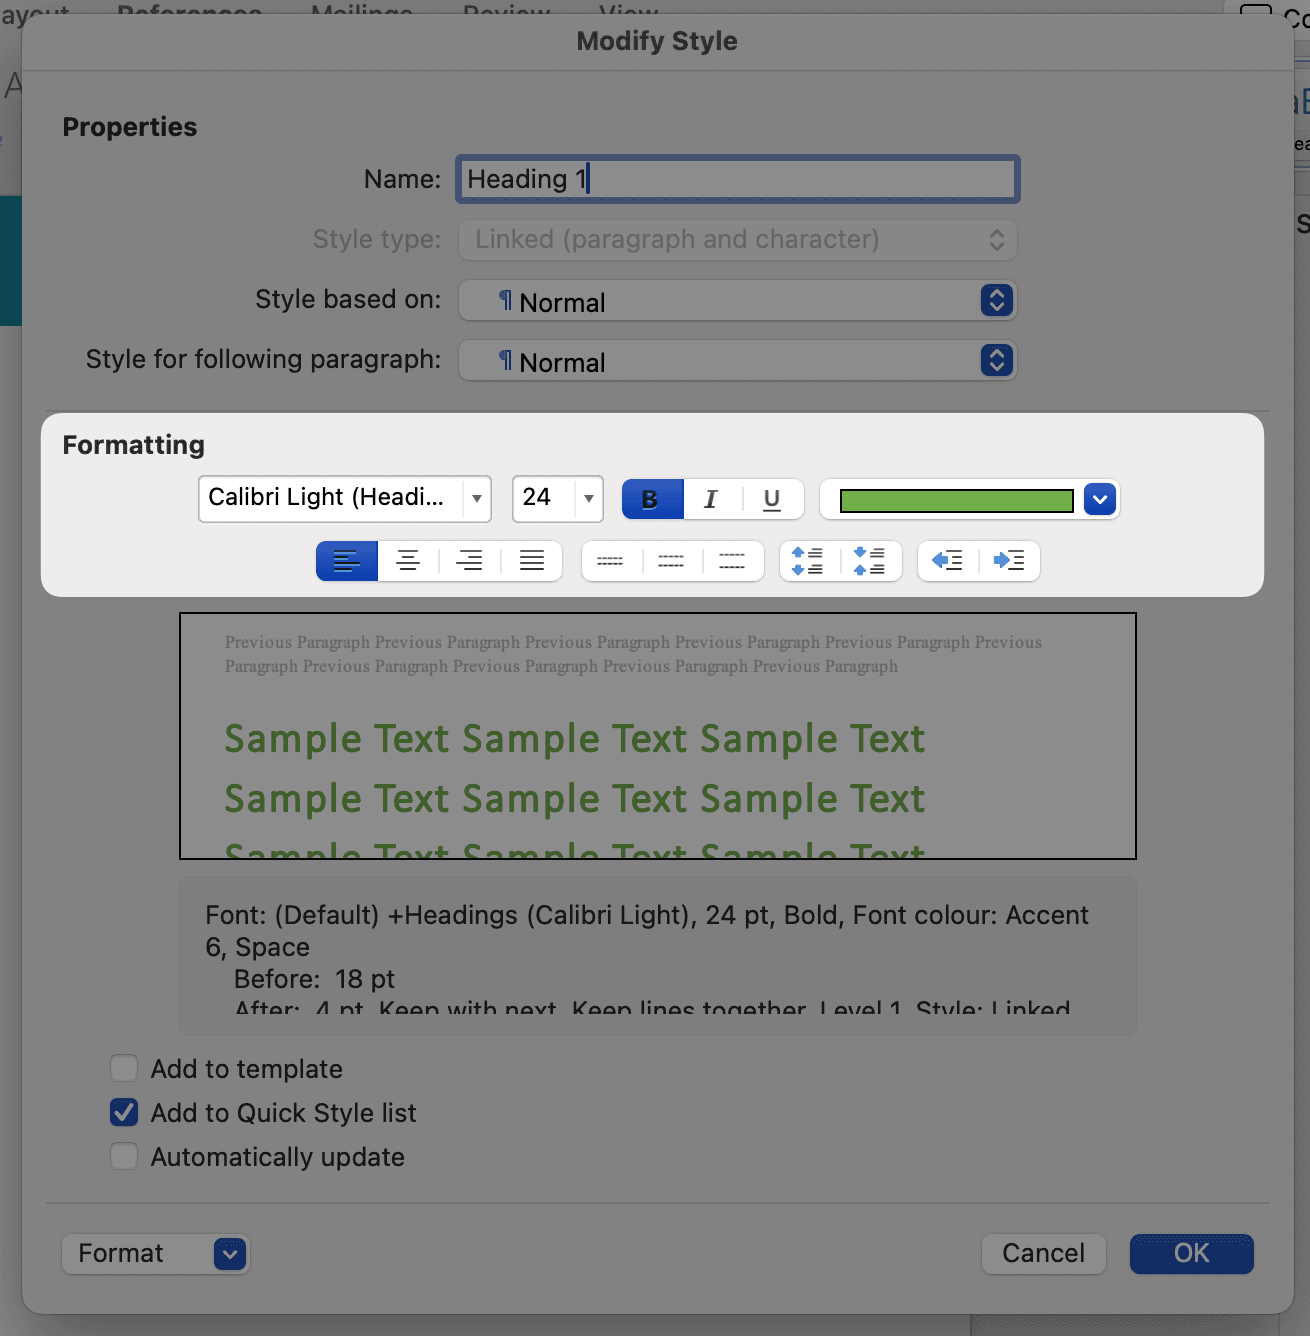
In the Modify Style pop up, customise colours/ size/ font.
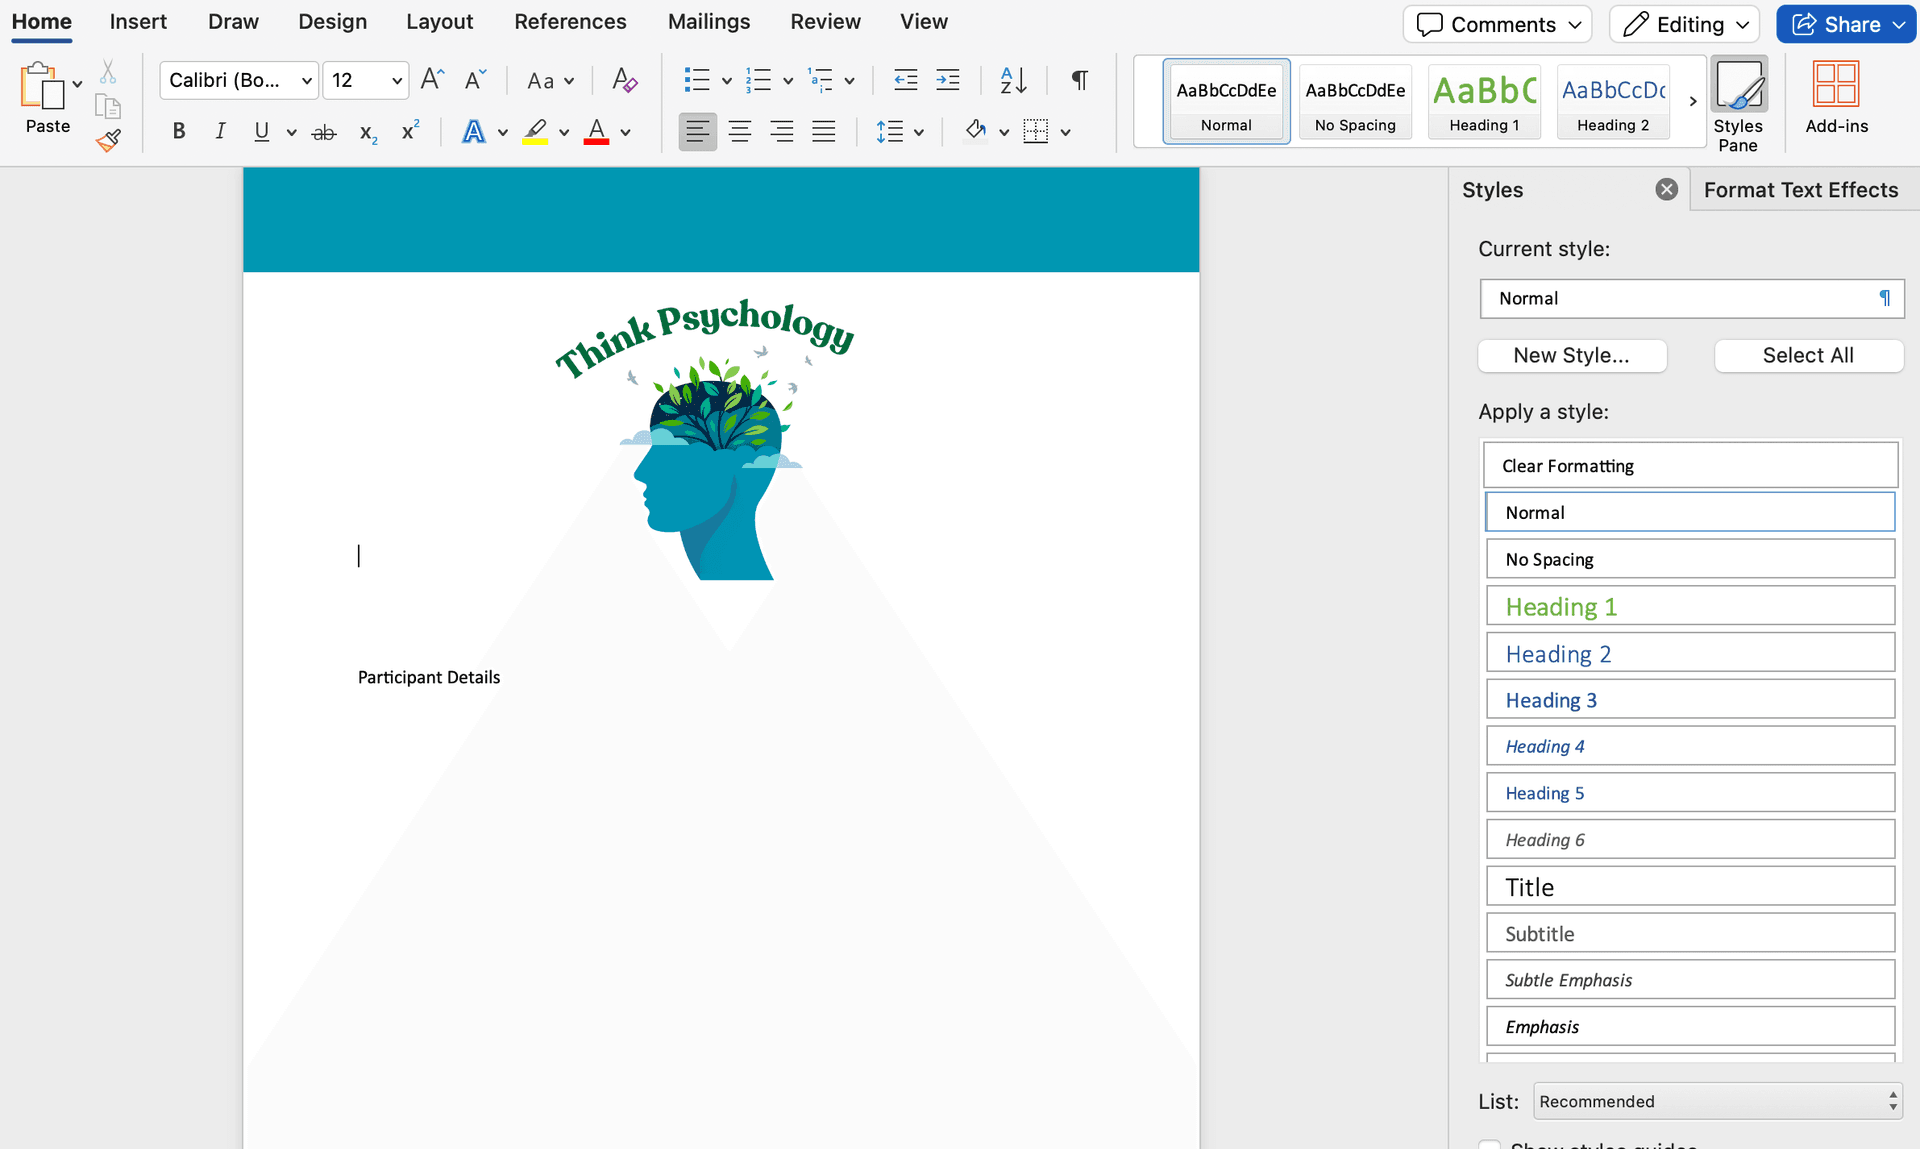
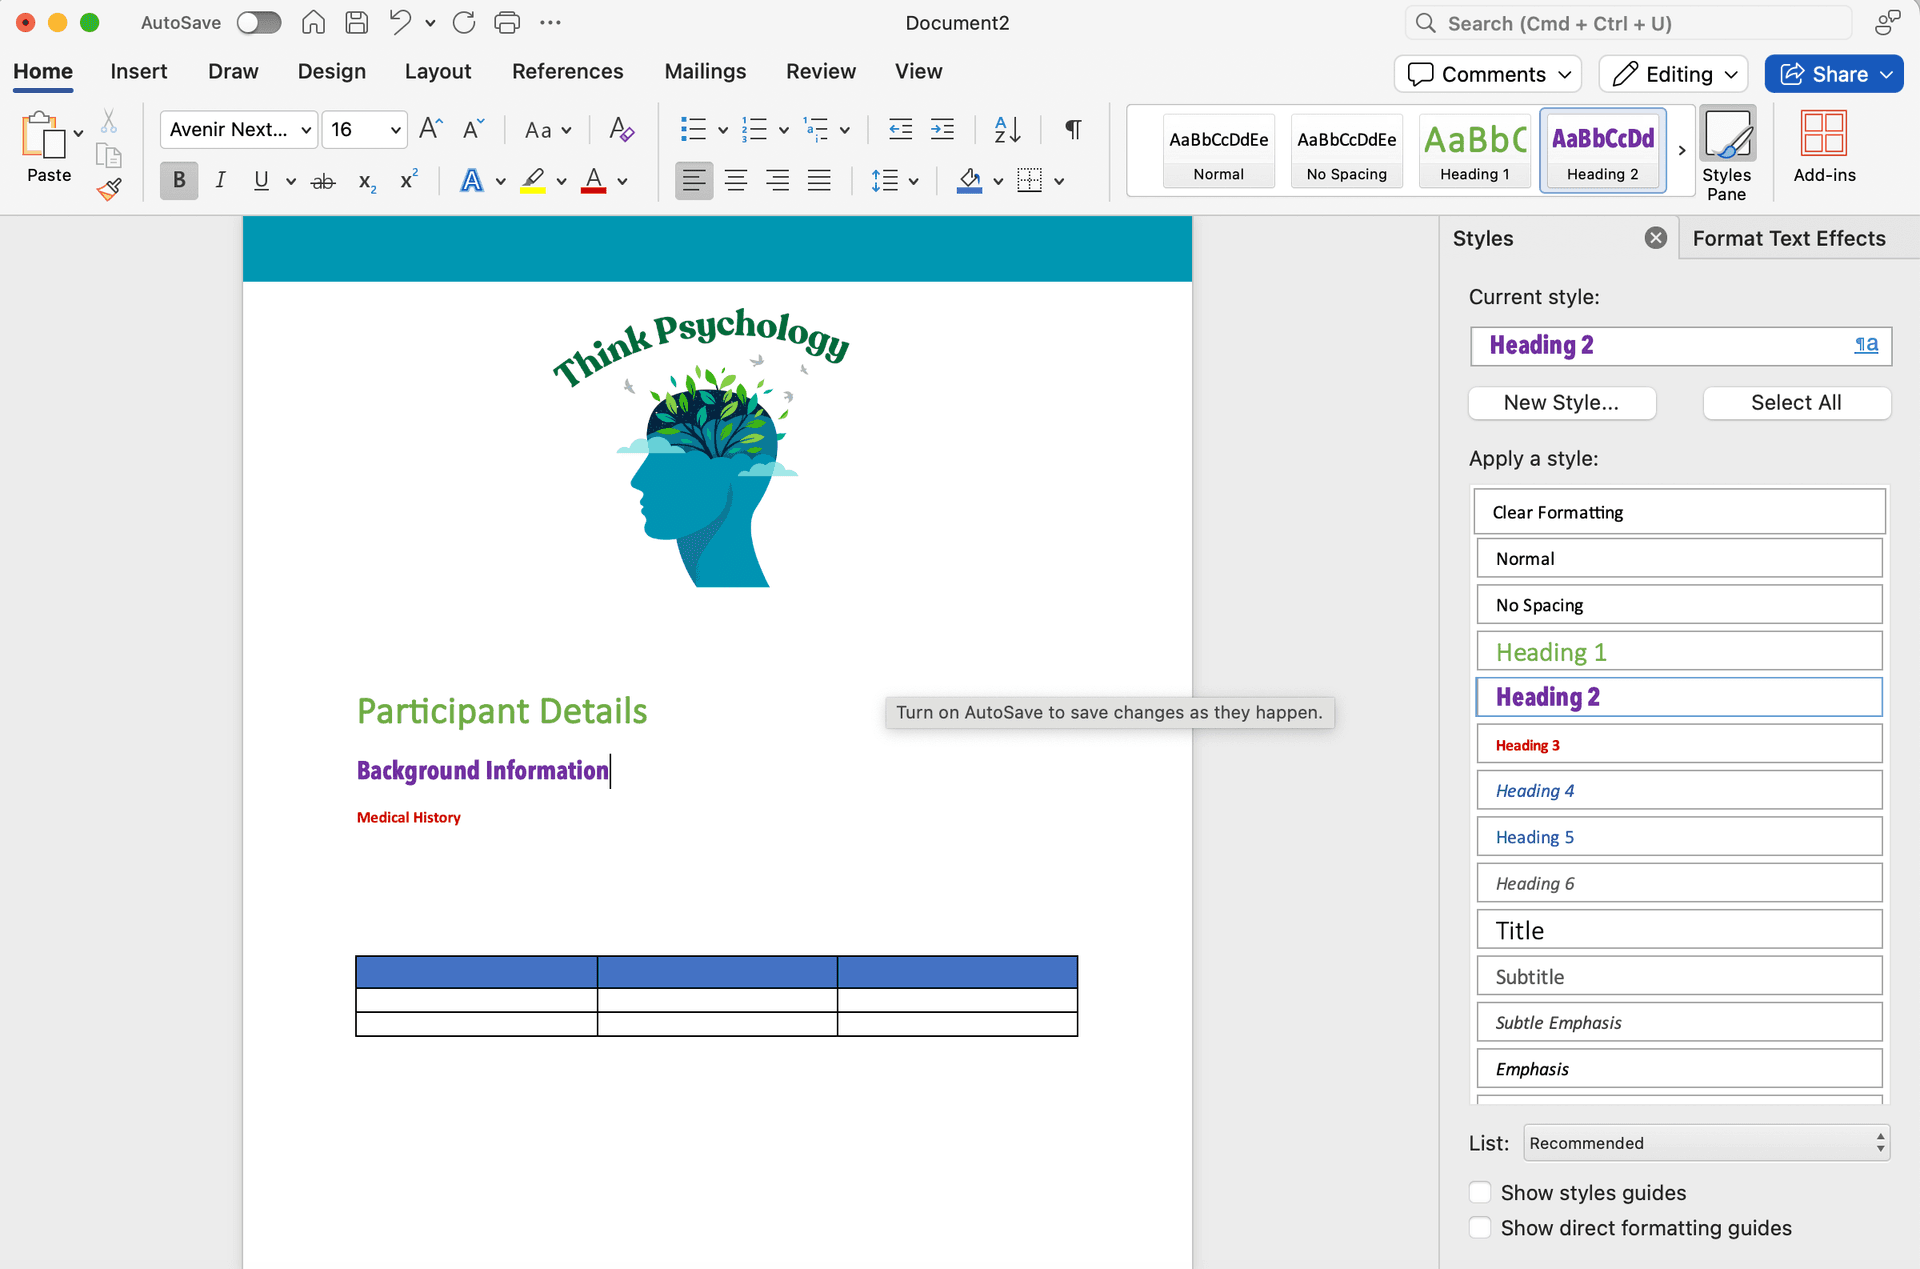
In the word document, you can now activate the changes that you have made by: (a) typing text and (b) clicking on the heading style that you want to apply.
(a) Typing your text
(b) Clicking on the heading style
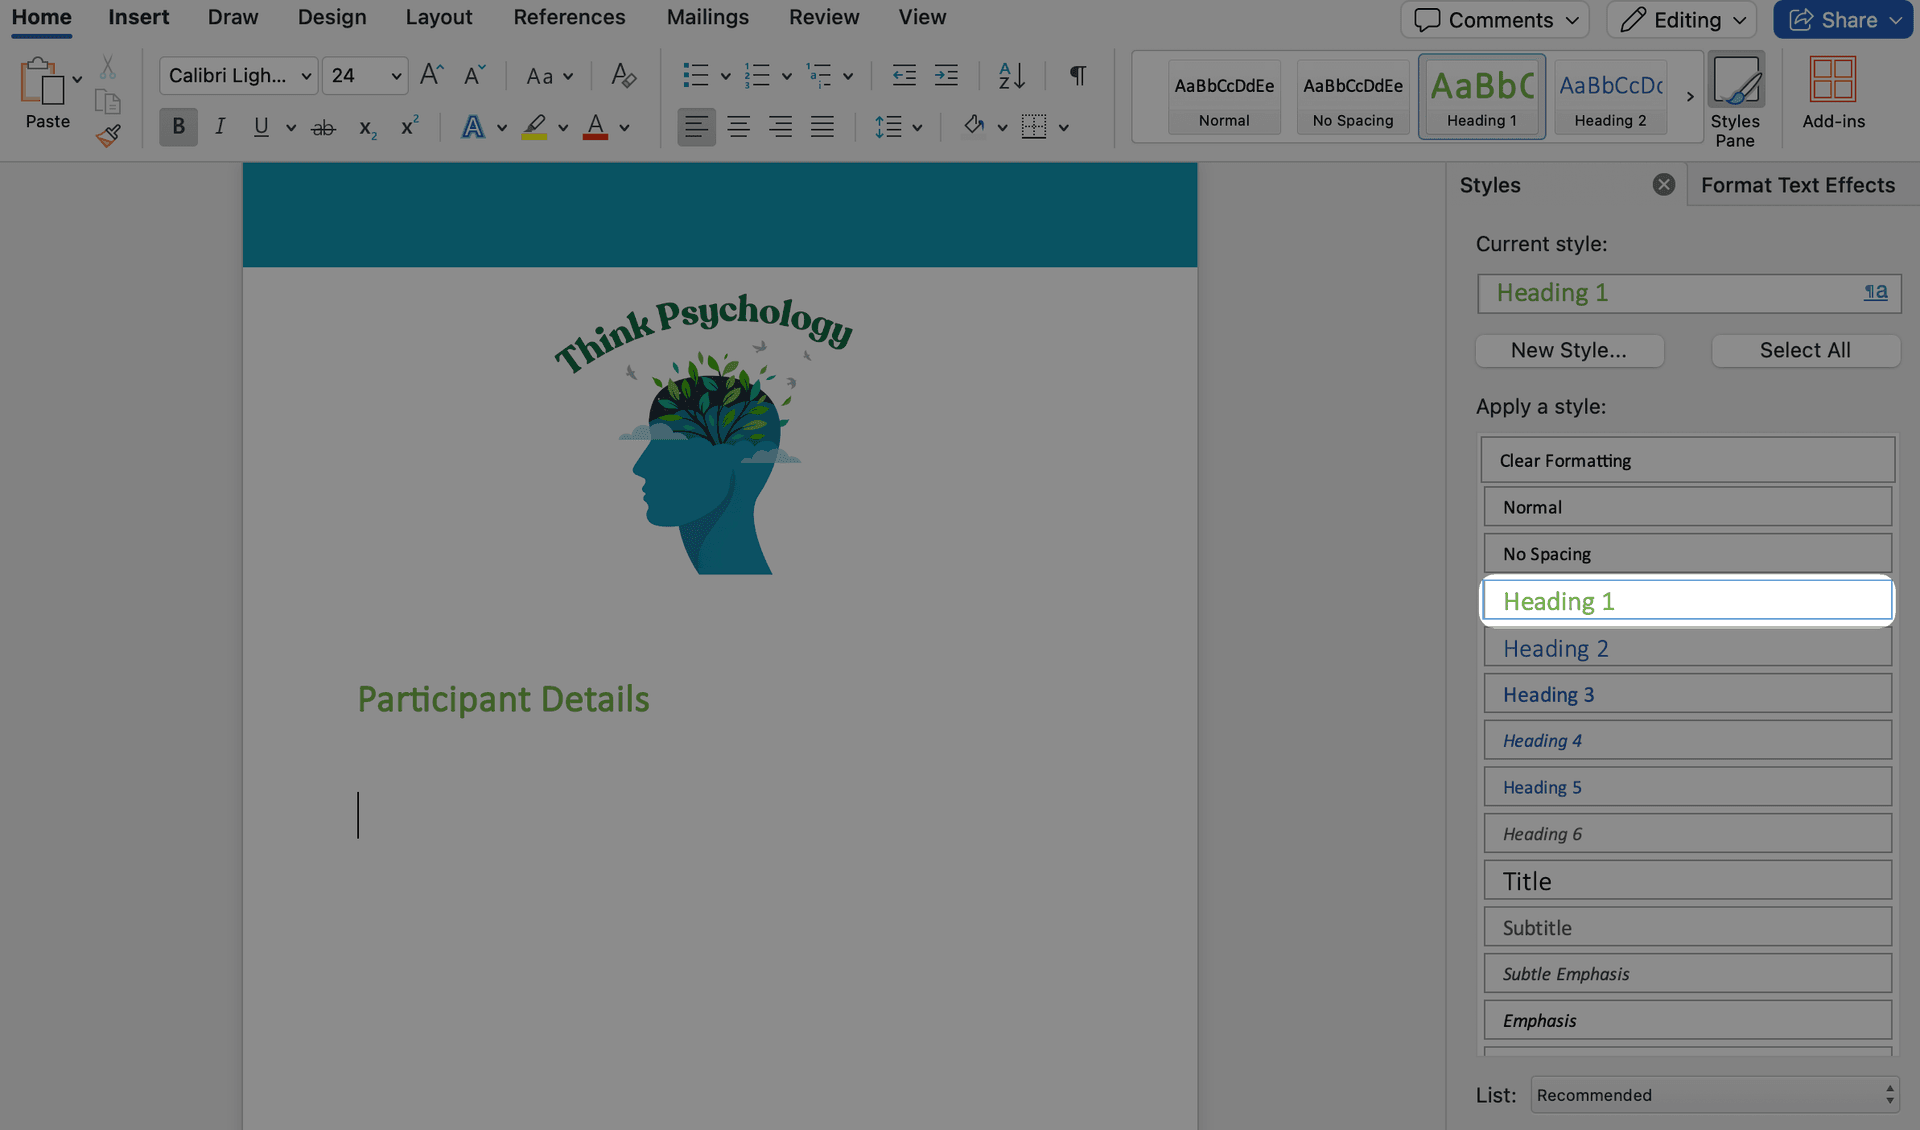
All heading styles selected
You won't need to do this everytime. Below we will show you how to select headings in Everbility.
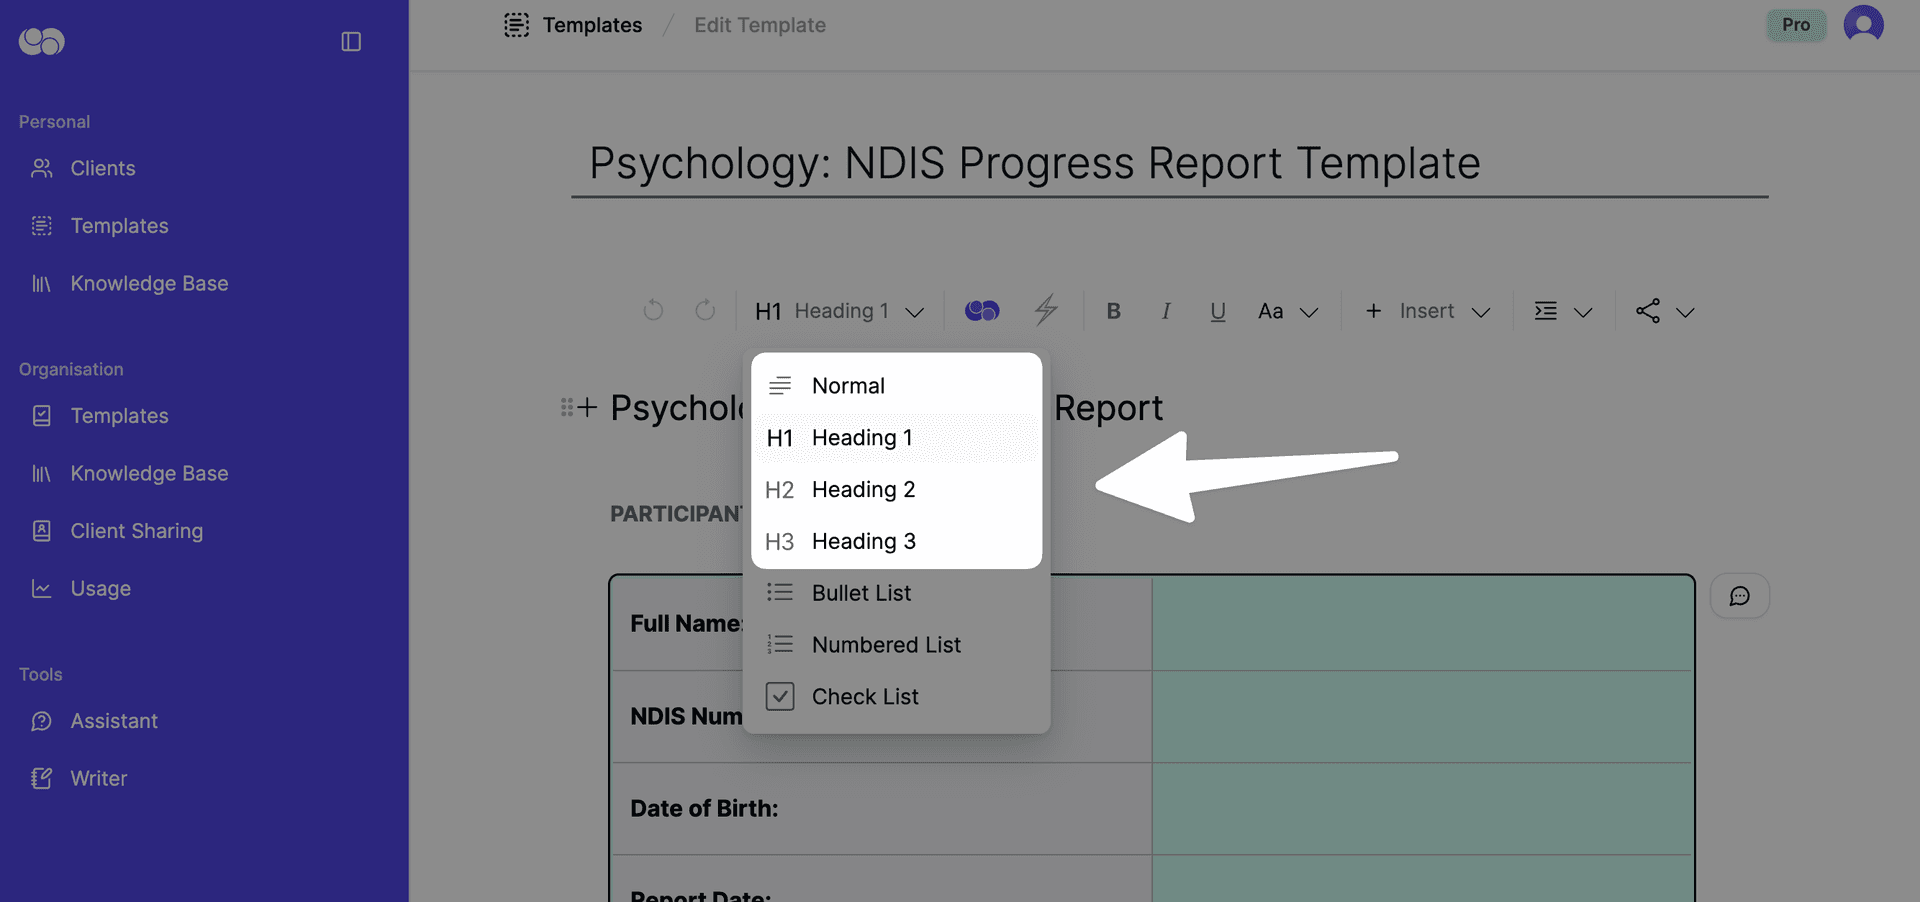
In your Everbility template, highlight your headings and click on the headings drop down button to select the heading style you want to apply (i.e., heading 1, heading 2, heading 3 etc.)
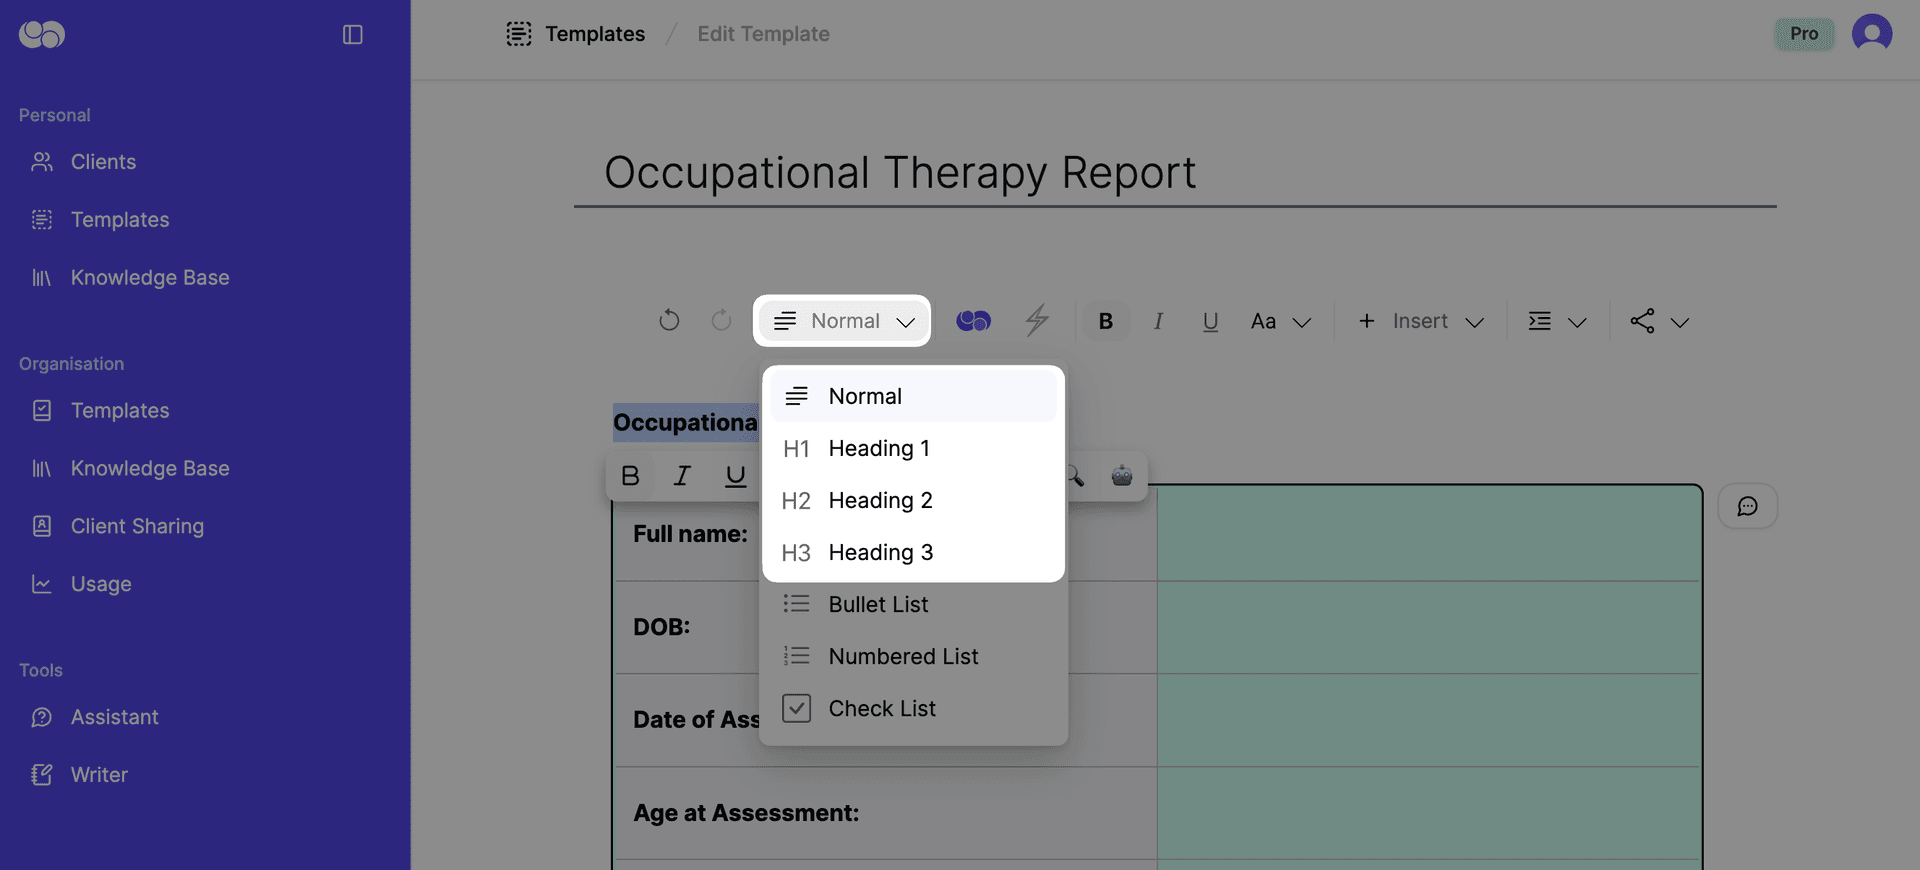
When you copy and paste your Everbility document into your word document template, the headings will be applied.
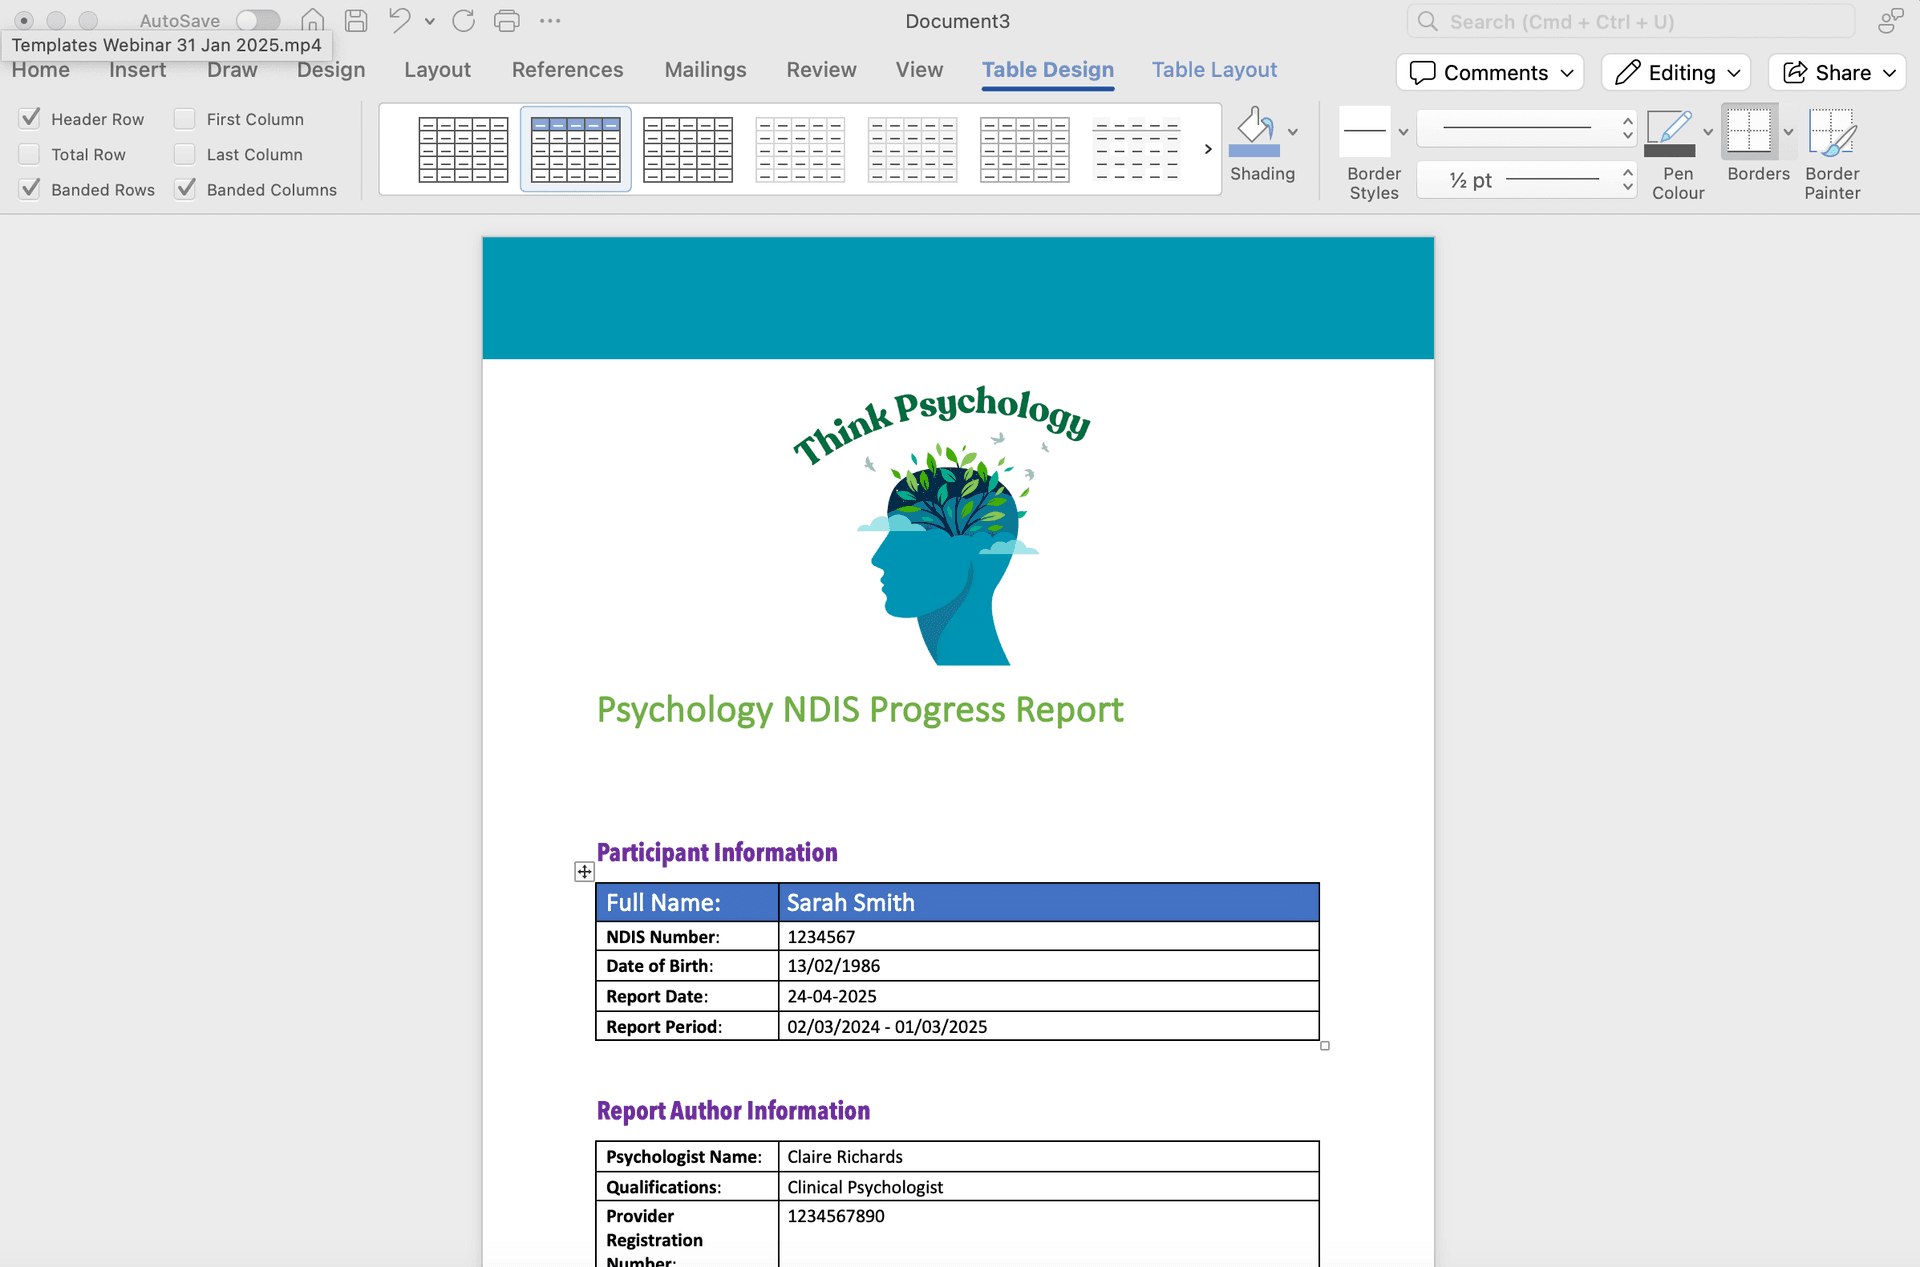
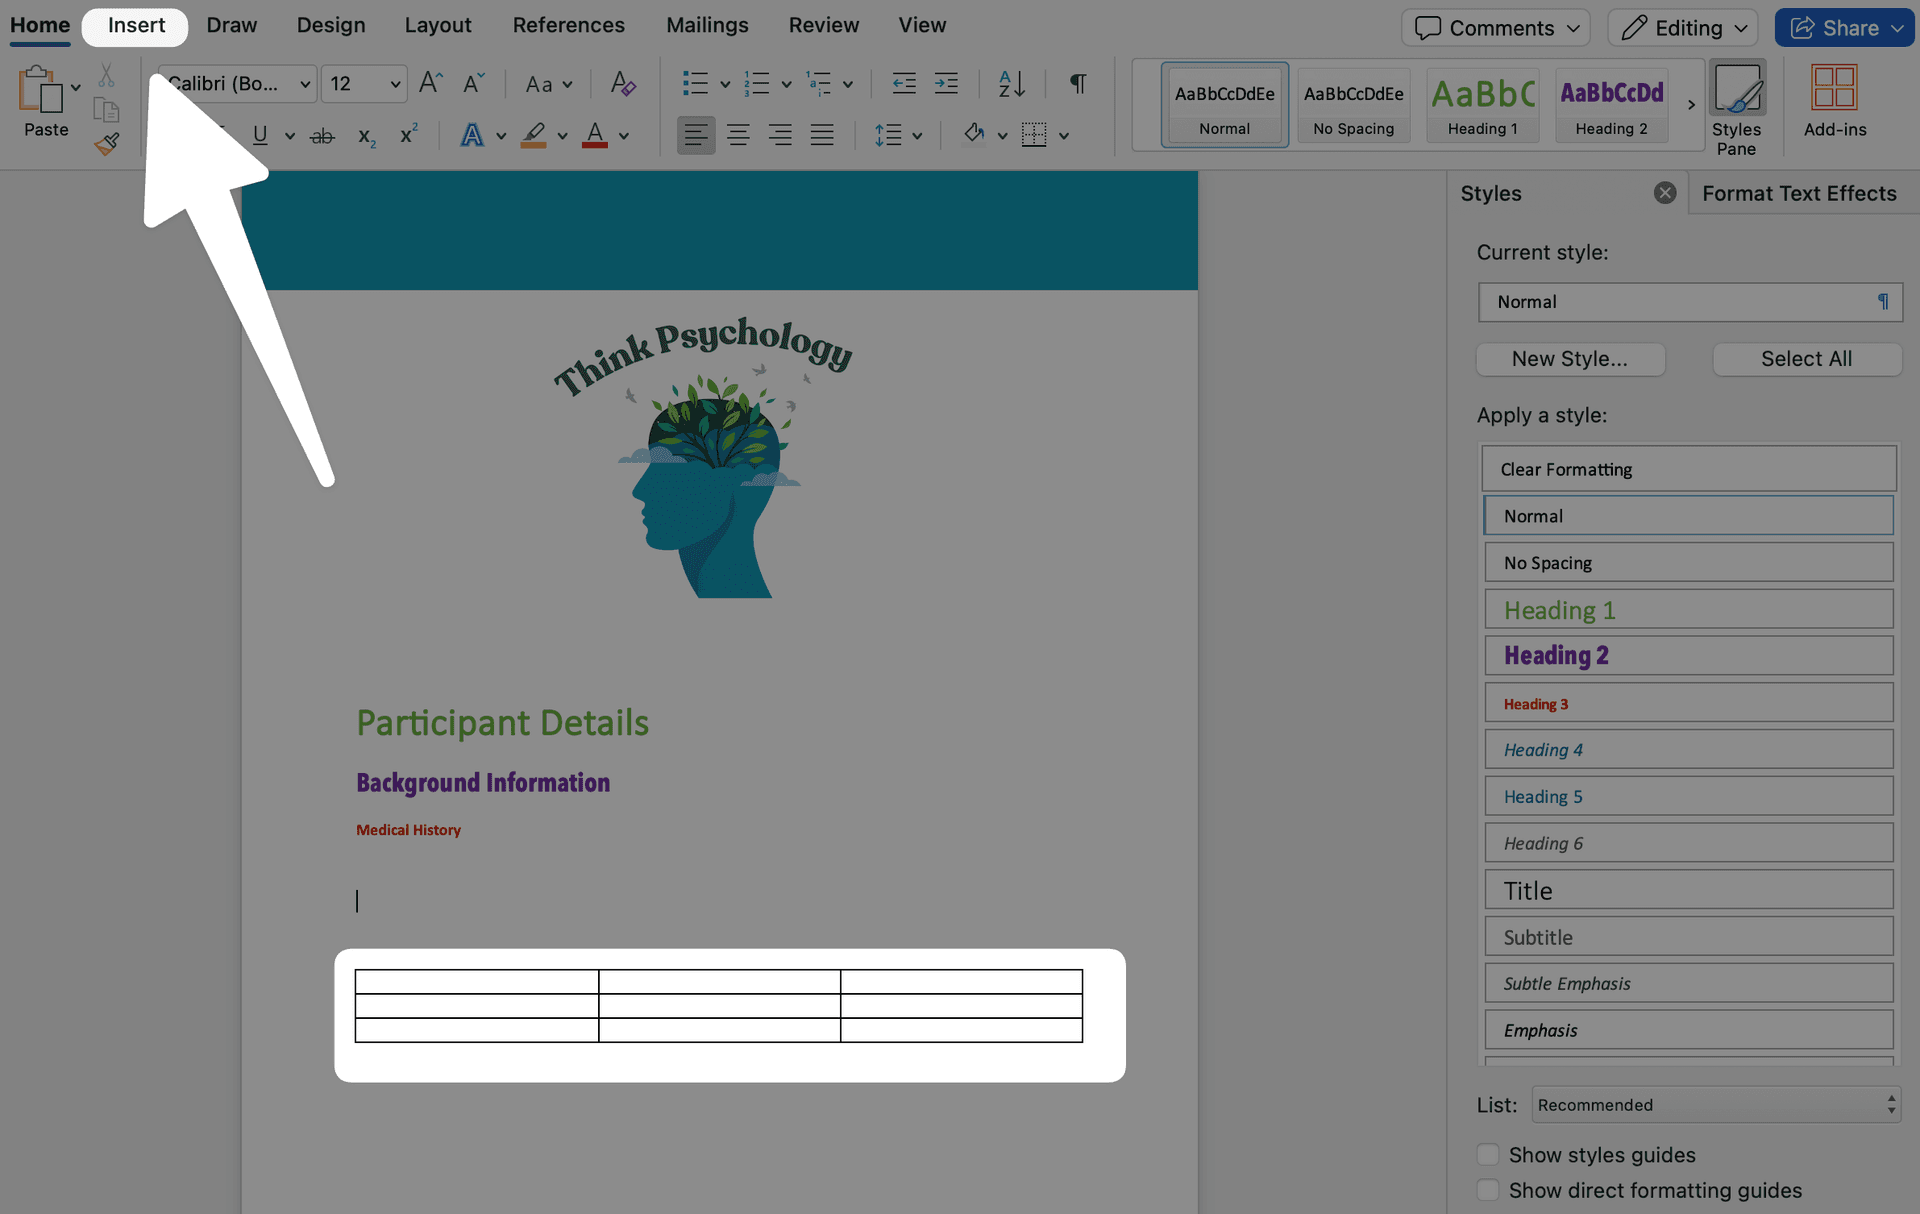
Set Your Preferred Table Design
- Insert a table into your document.
- Click on the table. Once you click on the table, you will be able to select
table designin the menu.


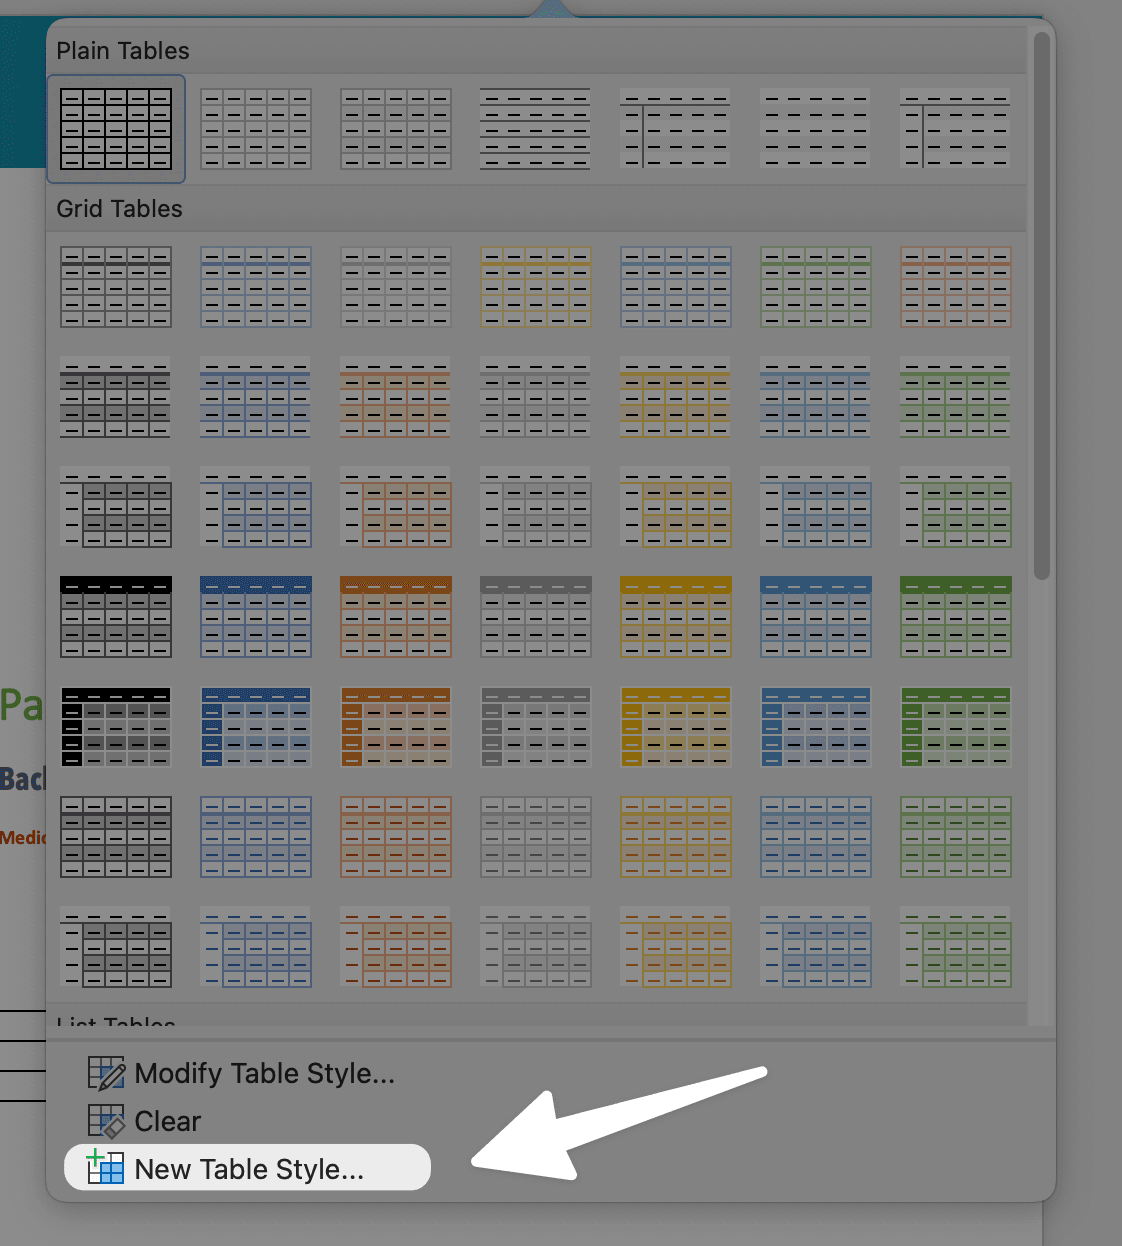
- Select the pull down arrow.
- Select
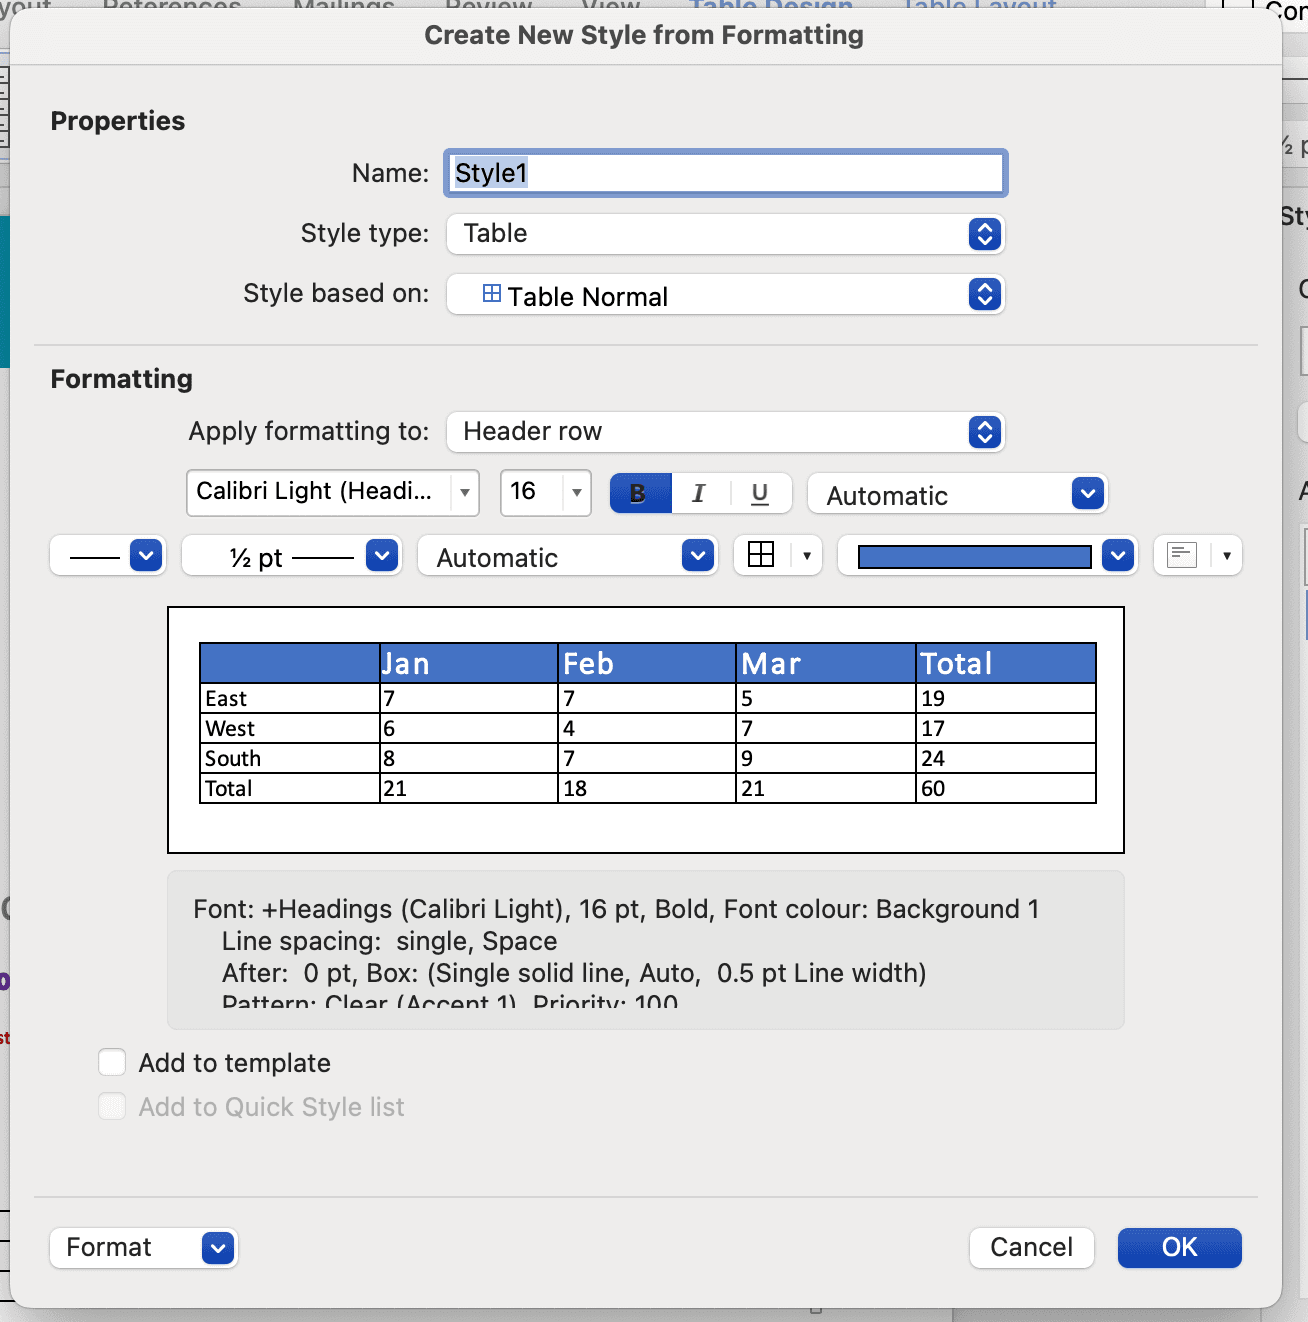
New Table Style.
- You can choose to customise the whole table or particular columns/ rows. To do this, click on the drop down menu and select your preference.

Customisation of the table can include:
- Font
- Font size
- Font colour
- Alignment
- Borders
Please Note: You can create multiple table designs and apply them to different tables throughout your document.
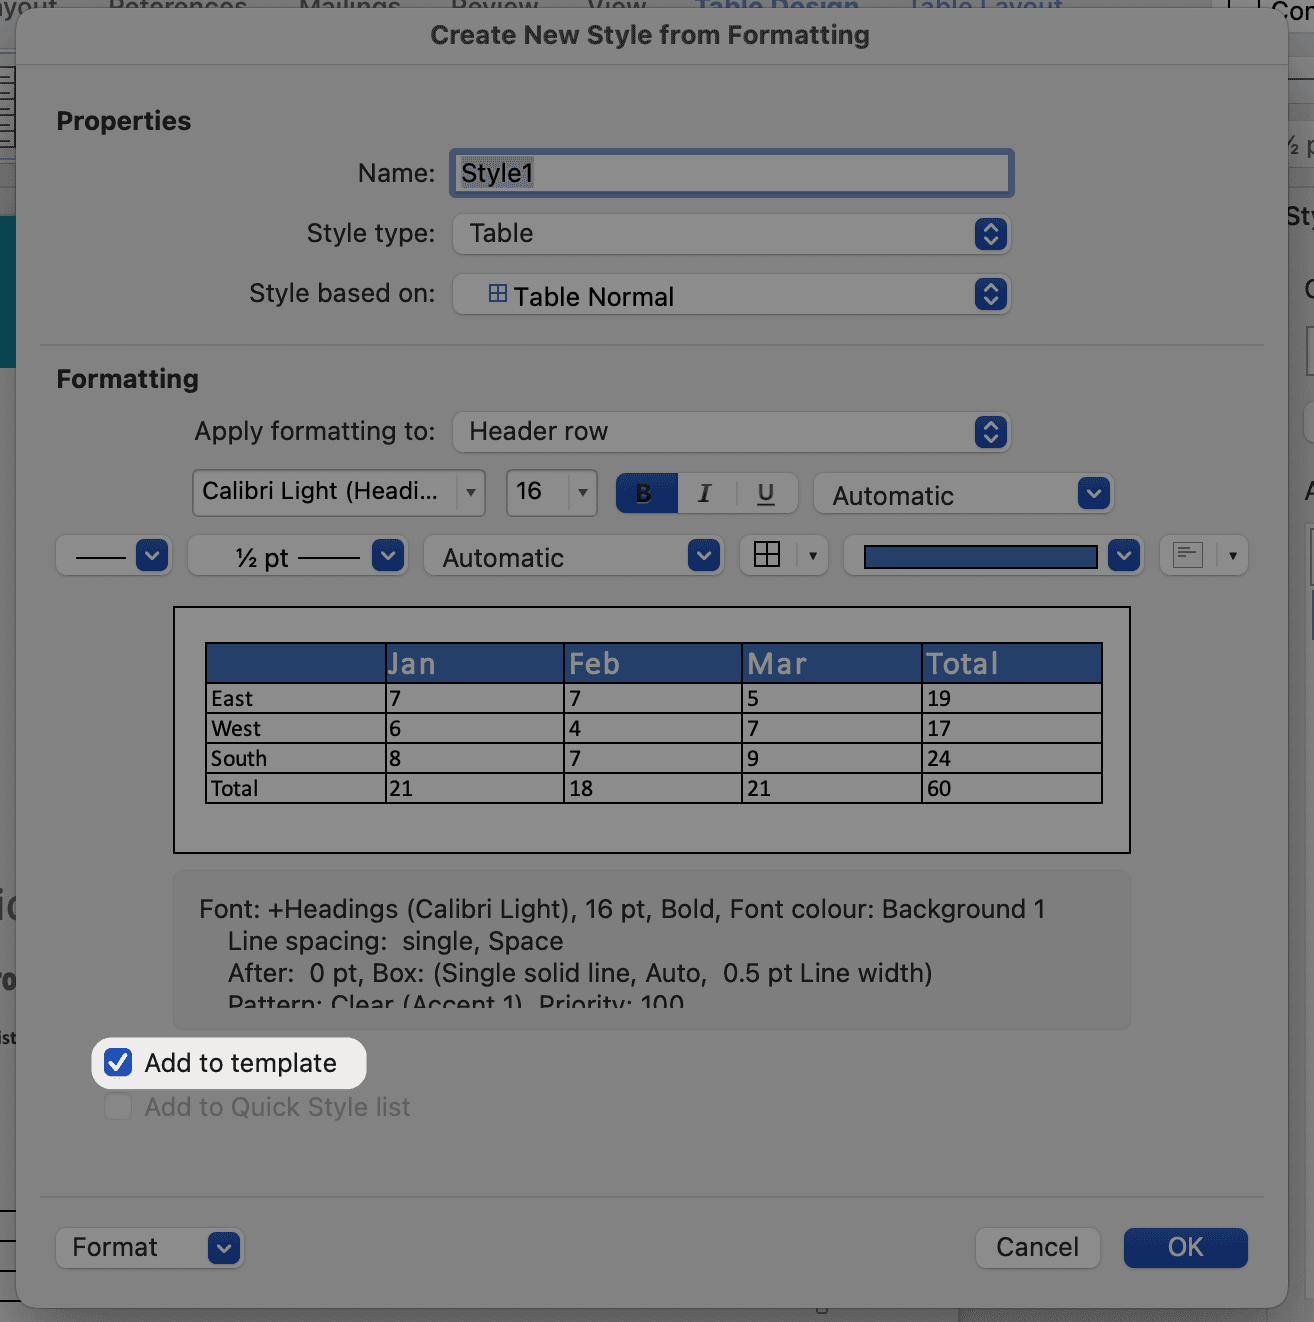
- Select
Add to TemplateandSave.
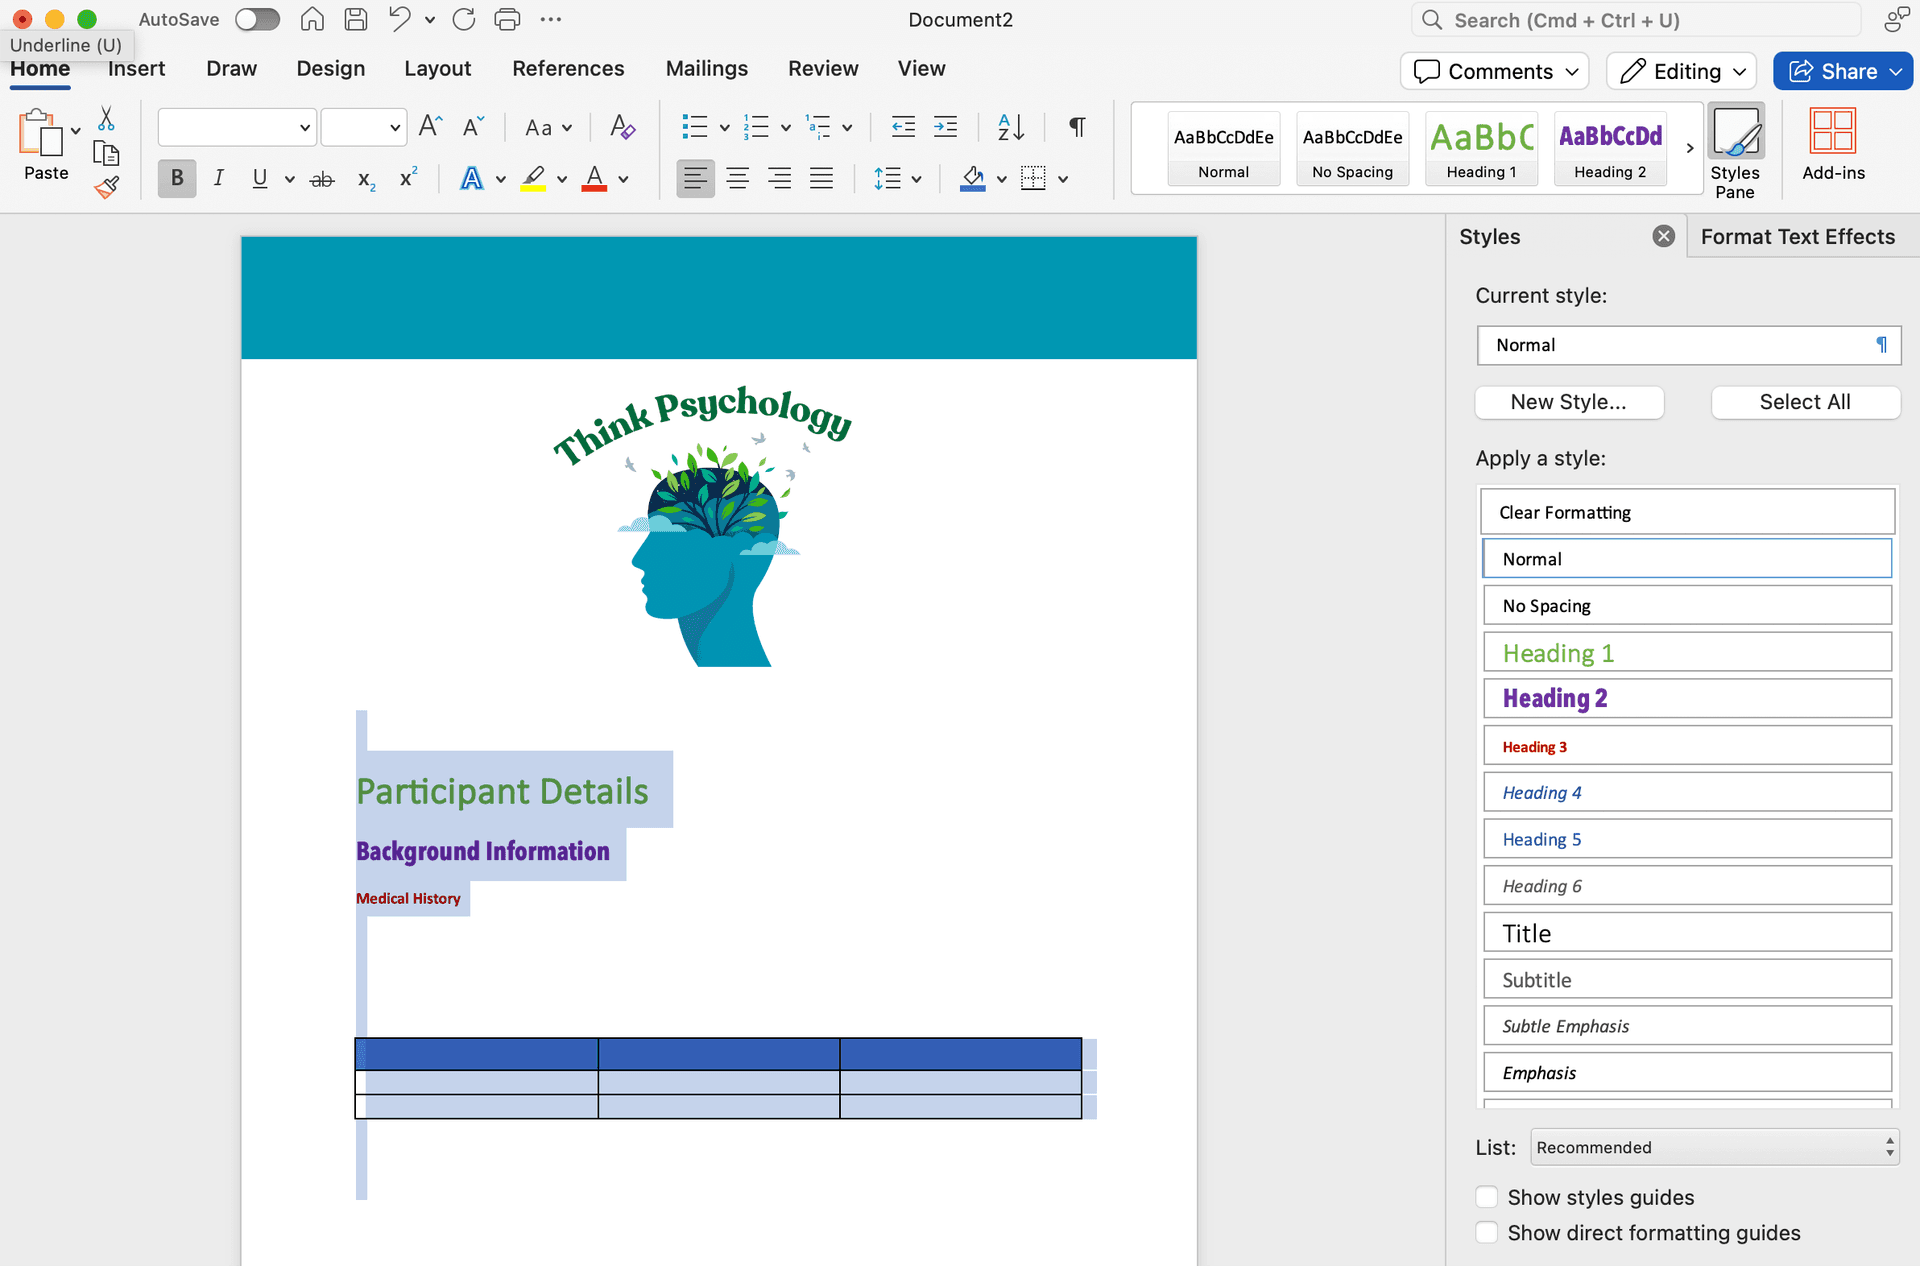
In the word document, you can now activate the changes that you have made to tables by: (a) clicking on the table and (b) clicking on the table design that you want to apply.

Save as a Template
- Delete all text/ tables that you have created. Dont worry, these have been saved in the document!
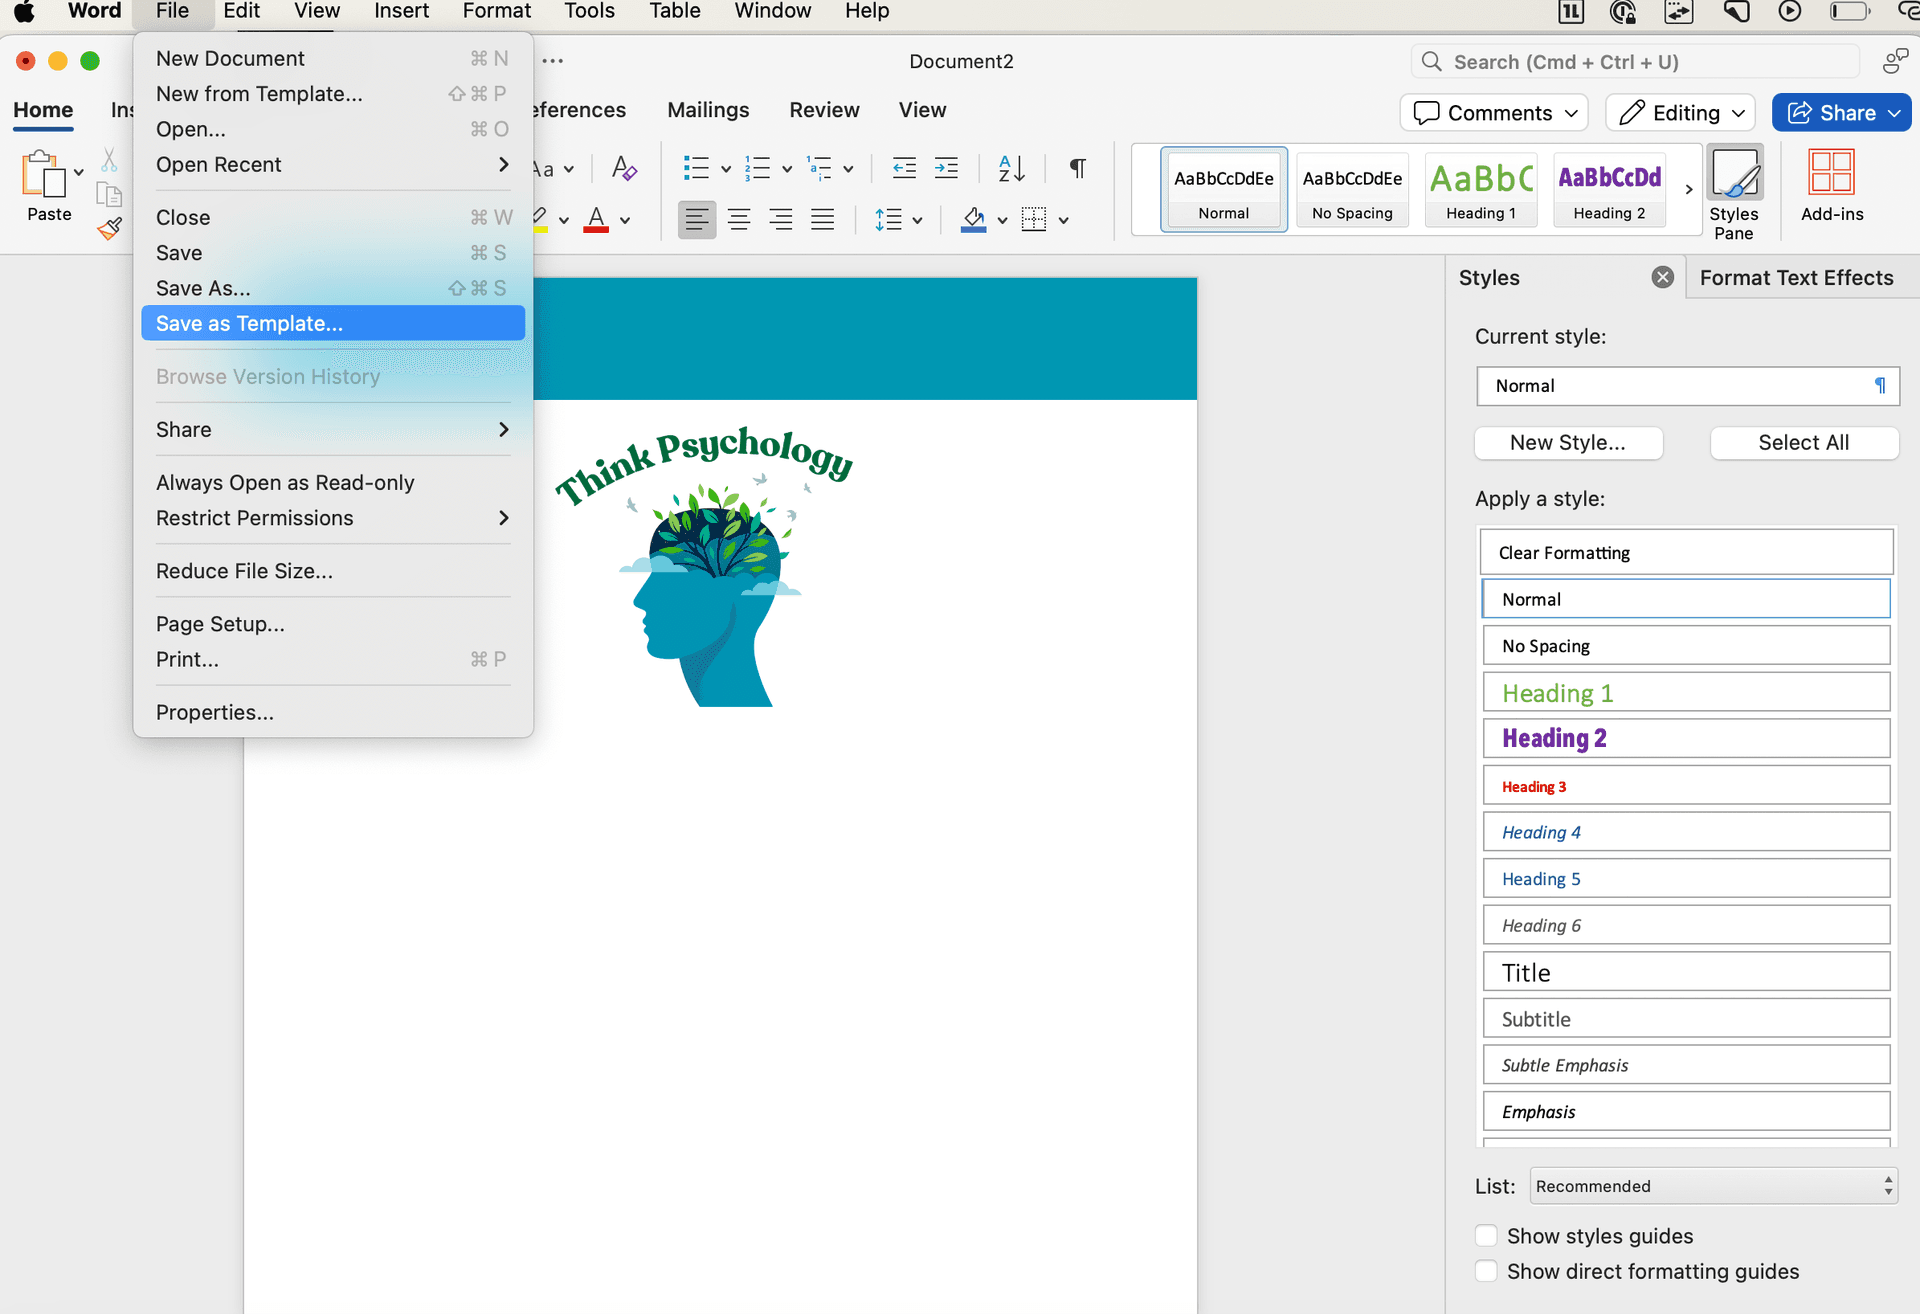
- Go to
Fileand clickSave As Template.
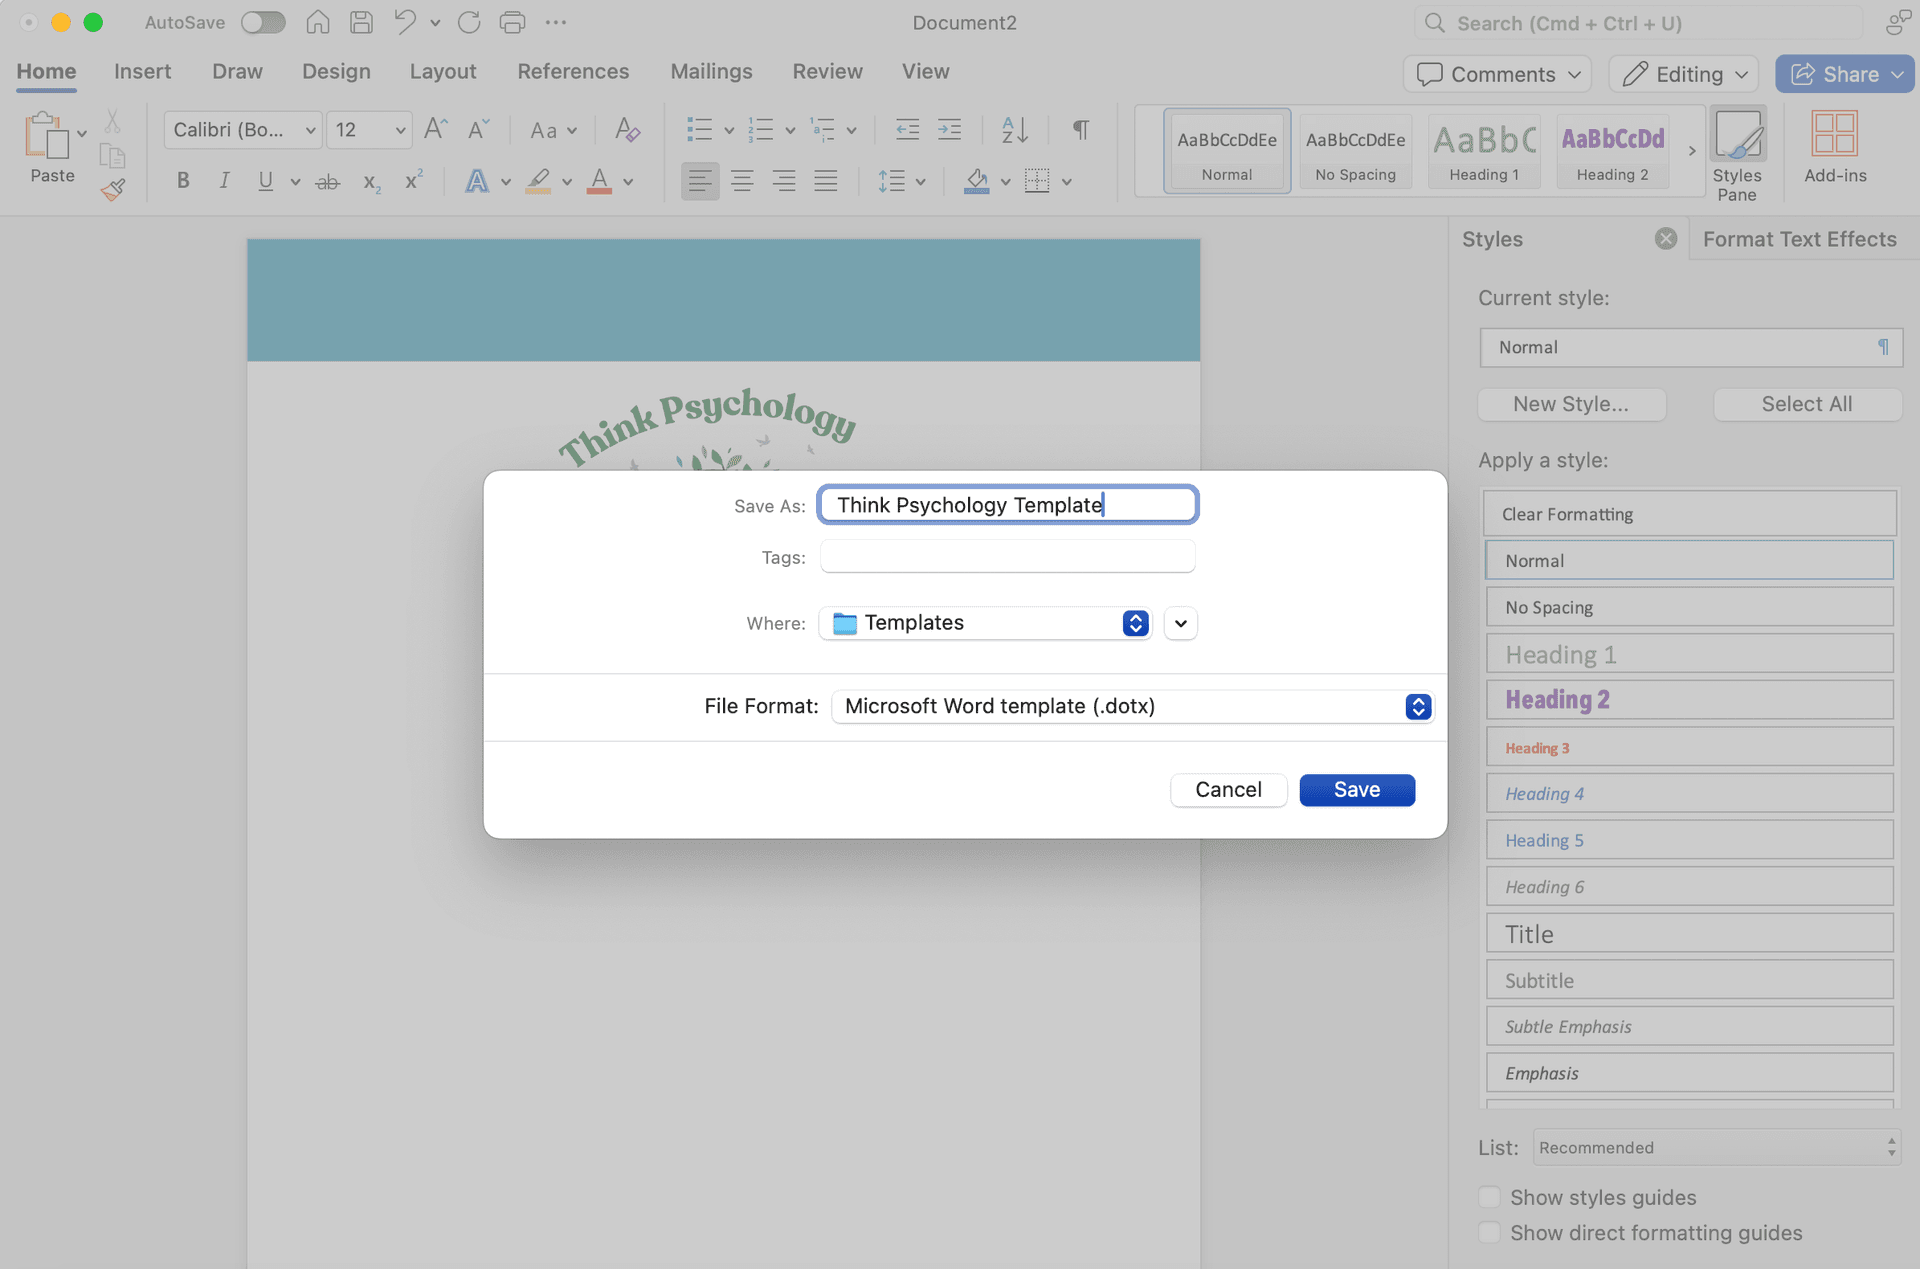
- Name your template (e.g., "XYZ Template").
- Choose the location: Word Template (*.dotx).
- Save it in the Custom Office Templates folder if you want it easily accessible when you open Word.
How to Use Your Template
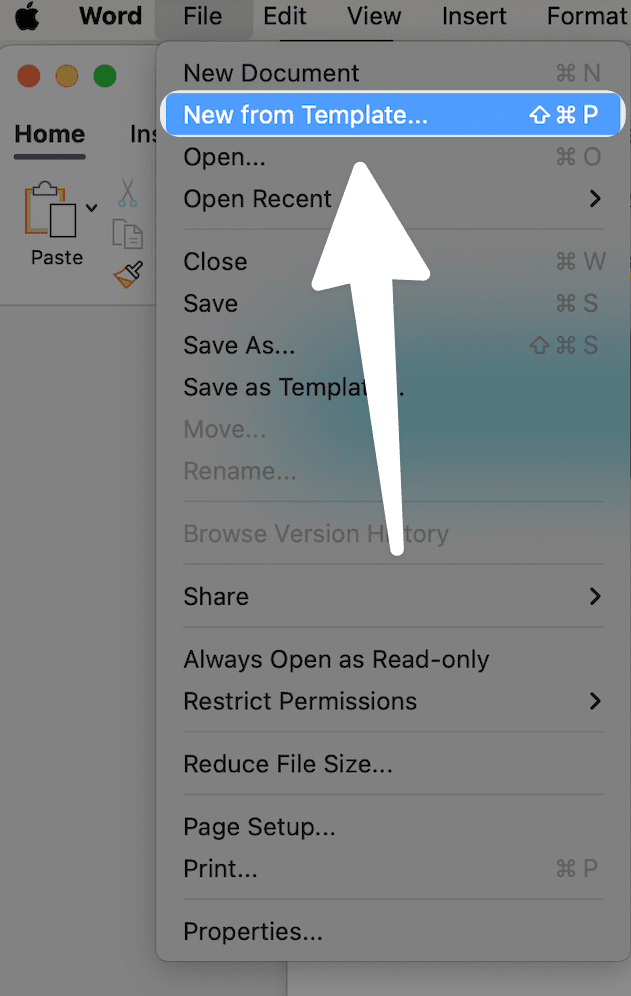
- Open Word.
- Go to
Fileand clickNew from Template.
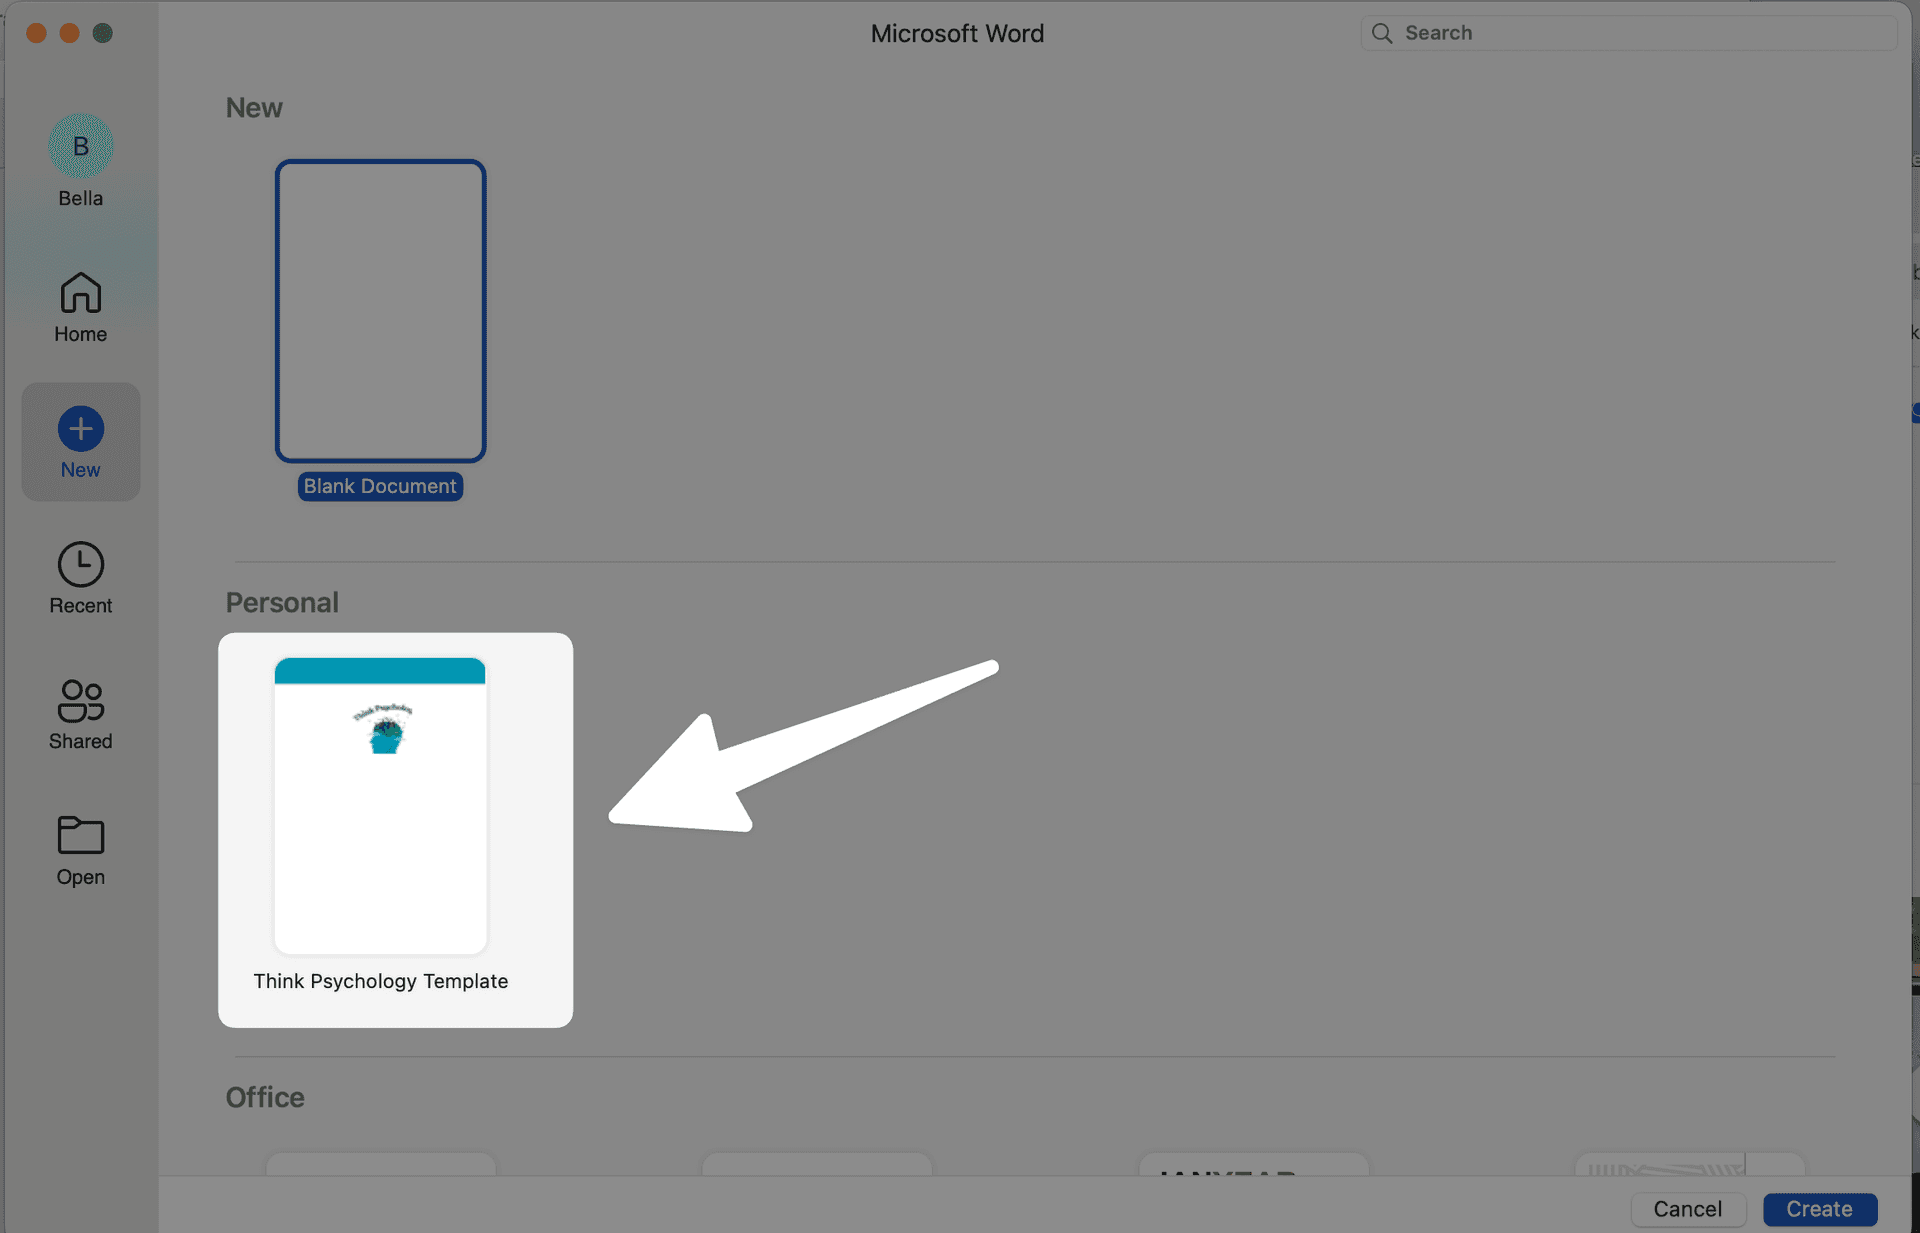
- Select your template (e.g., "XYZ Template").
- When you have finished writing your document in Everbility, click on the down arrow to export this as a docx.
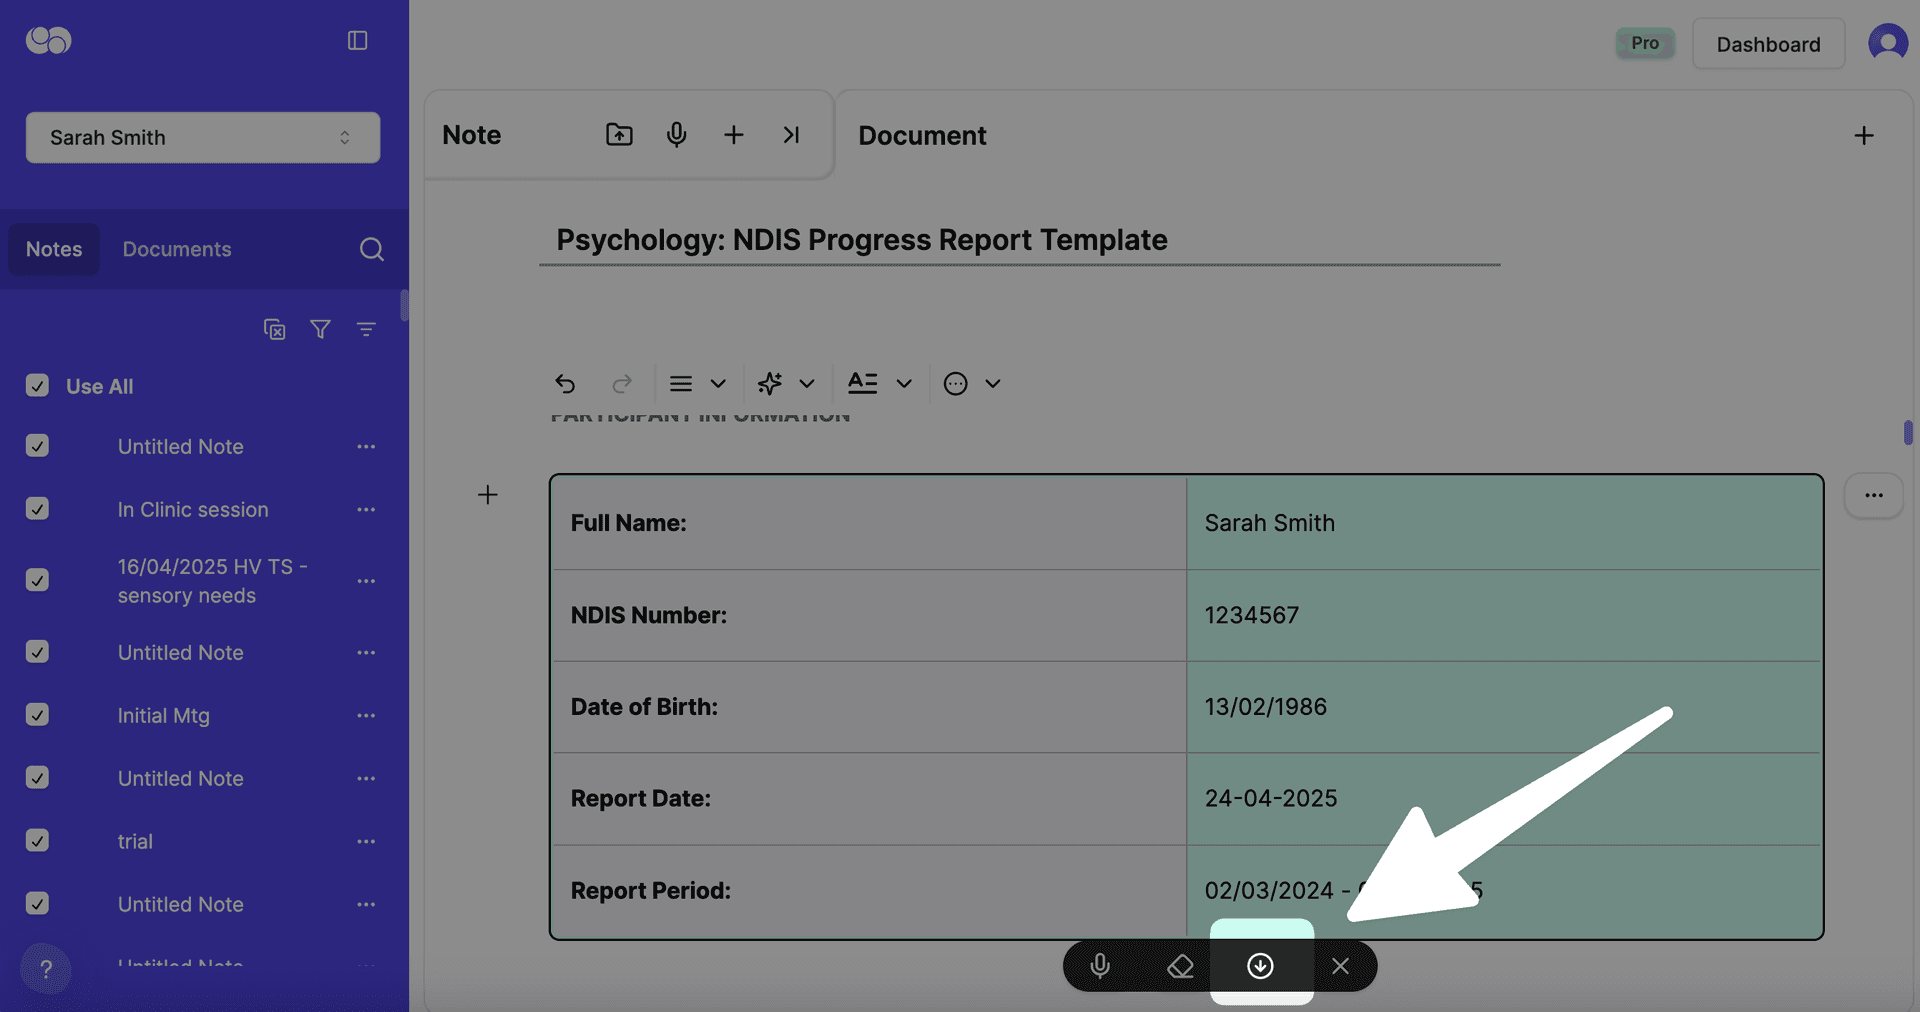
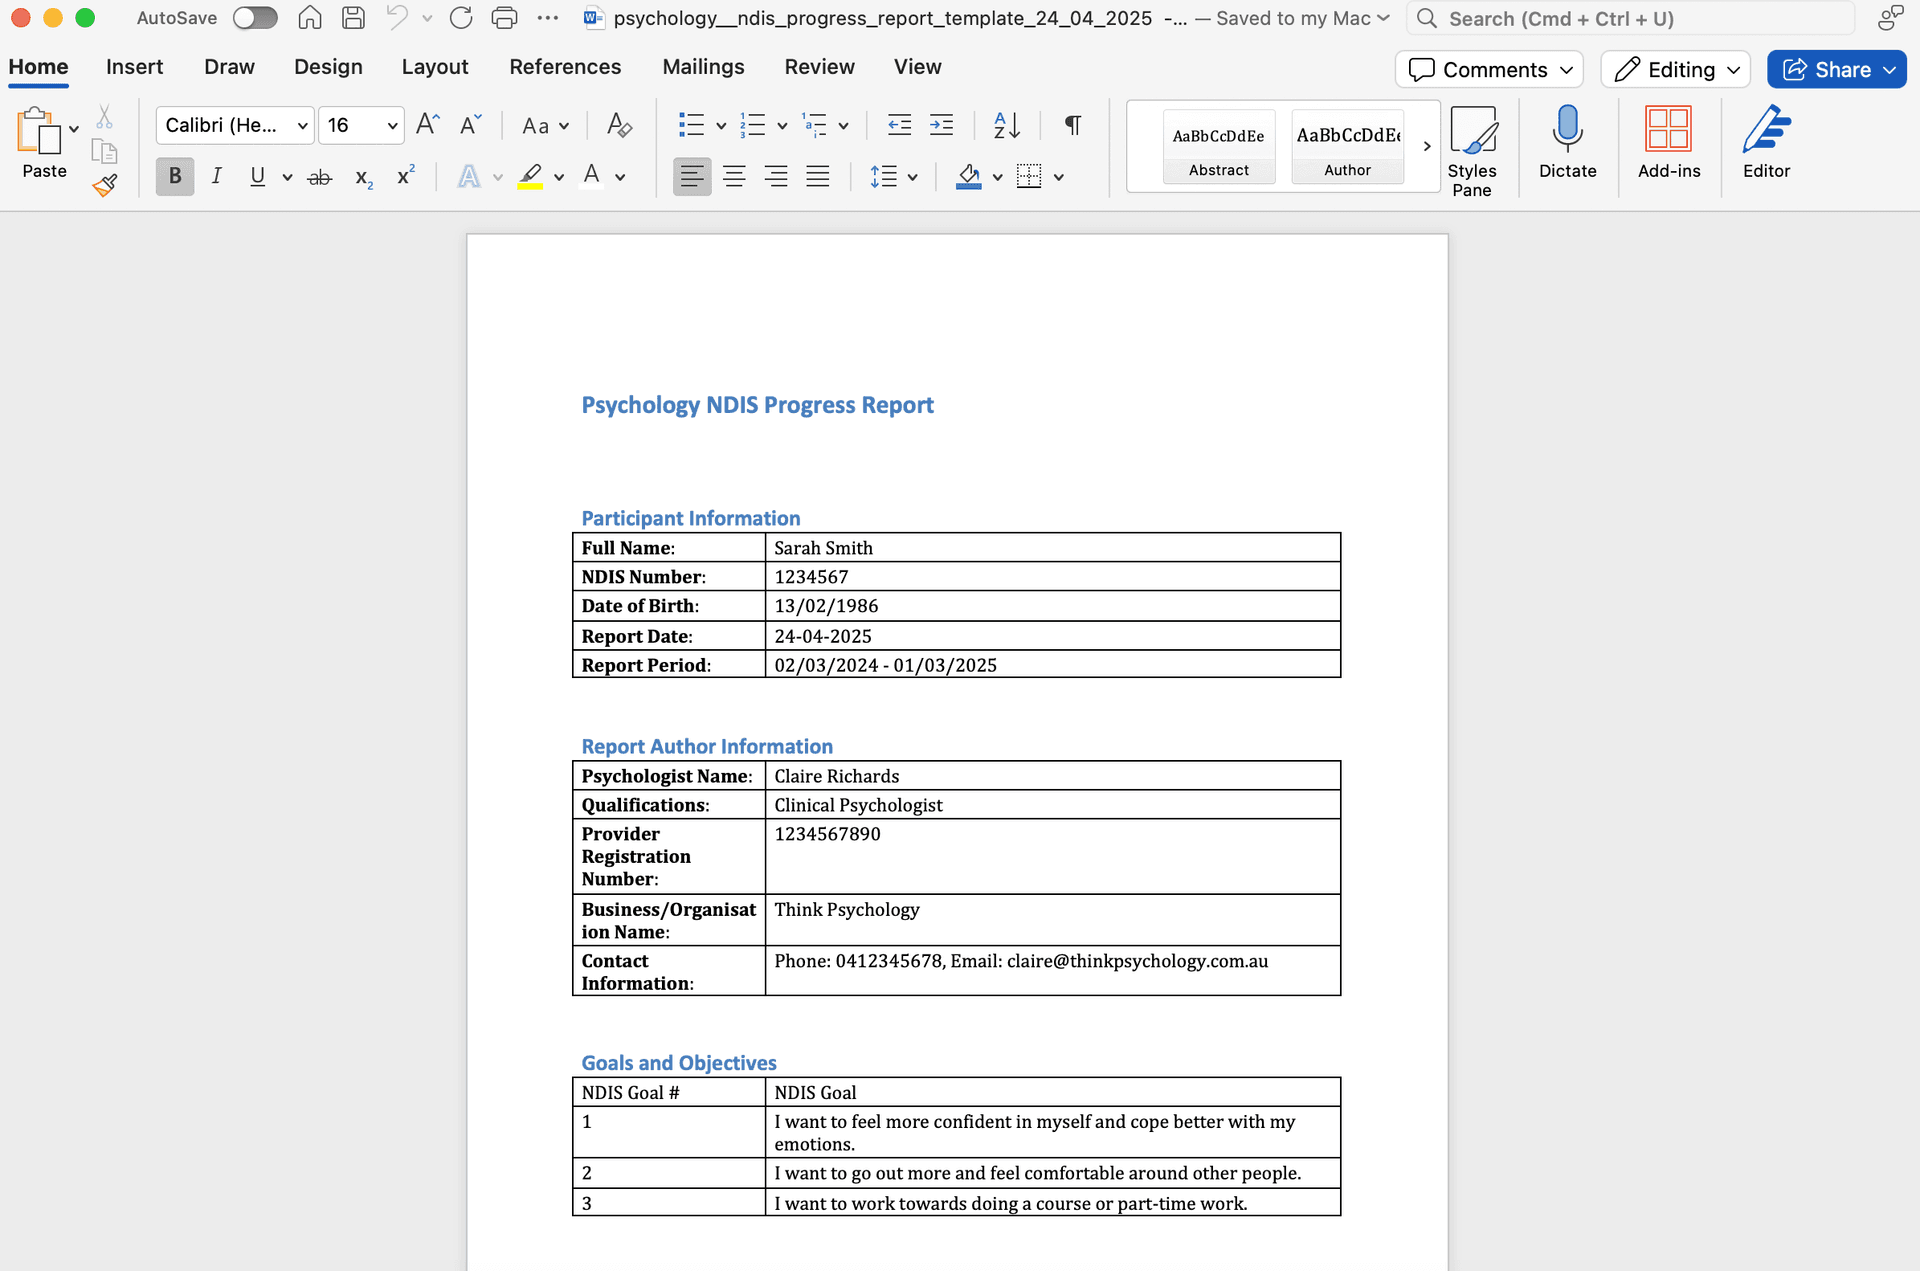
You can then copy and paste this into your word document template and the fonts/ sizing will be applied.
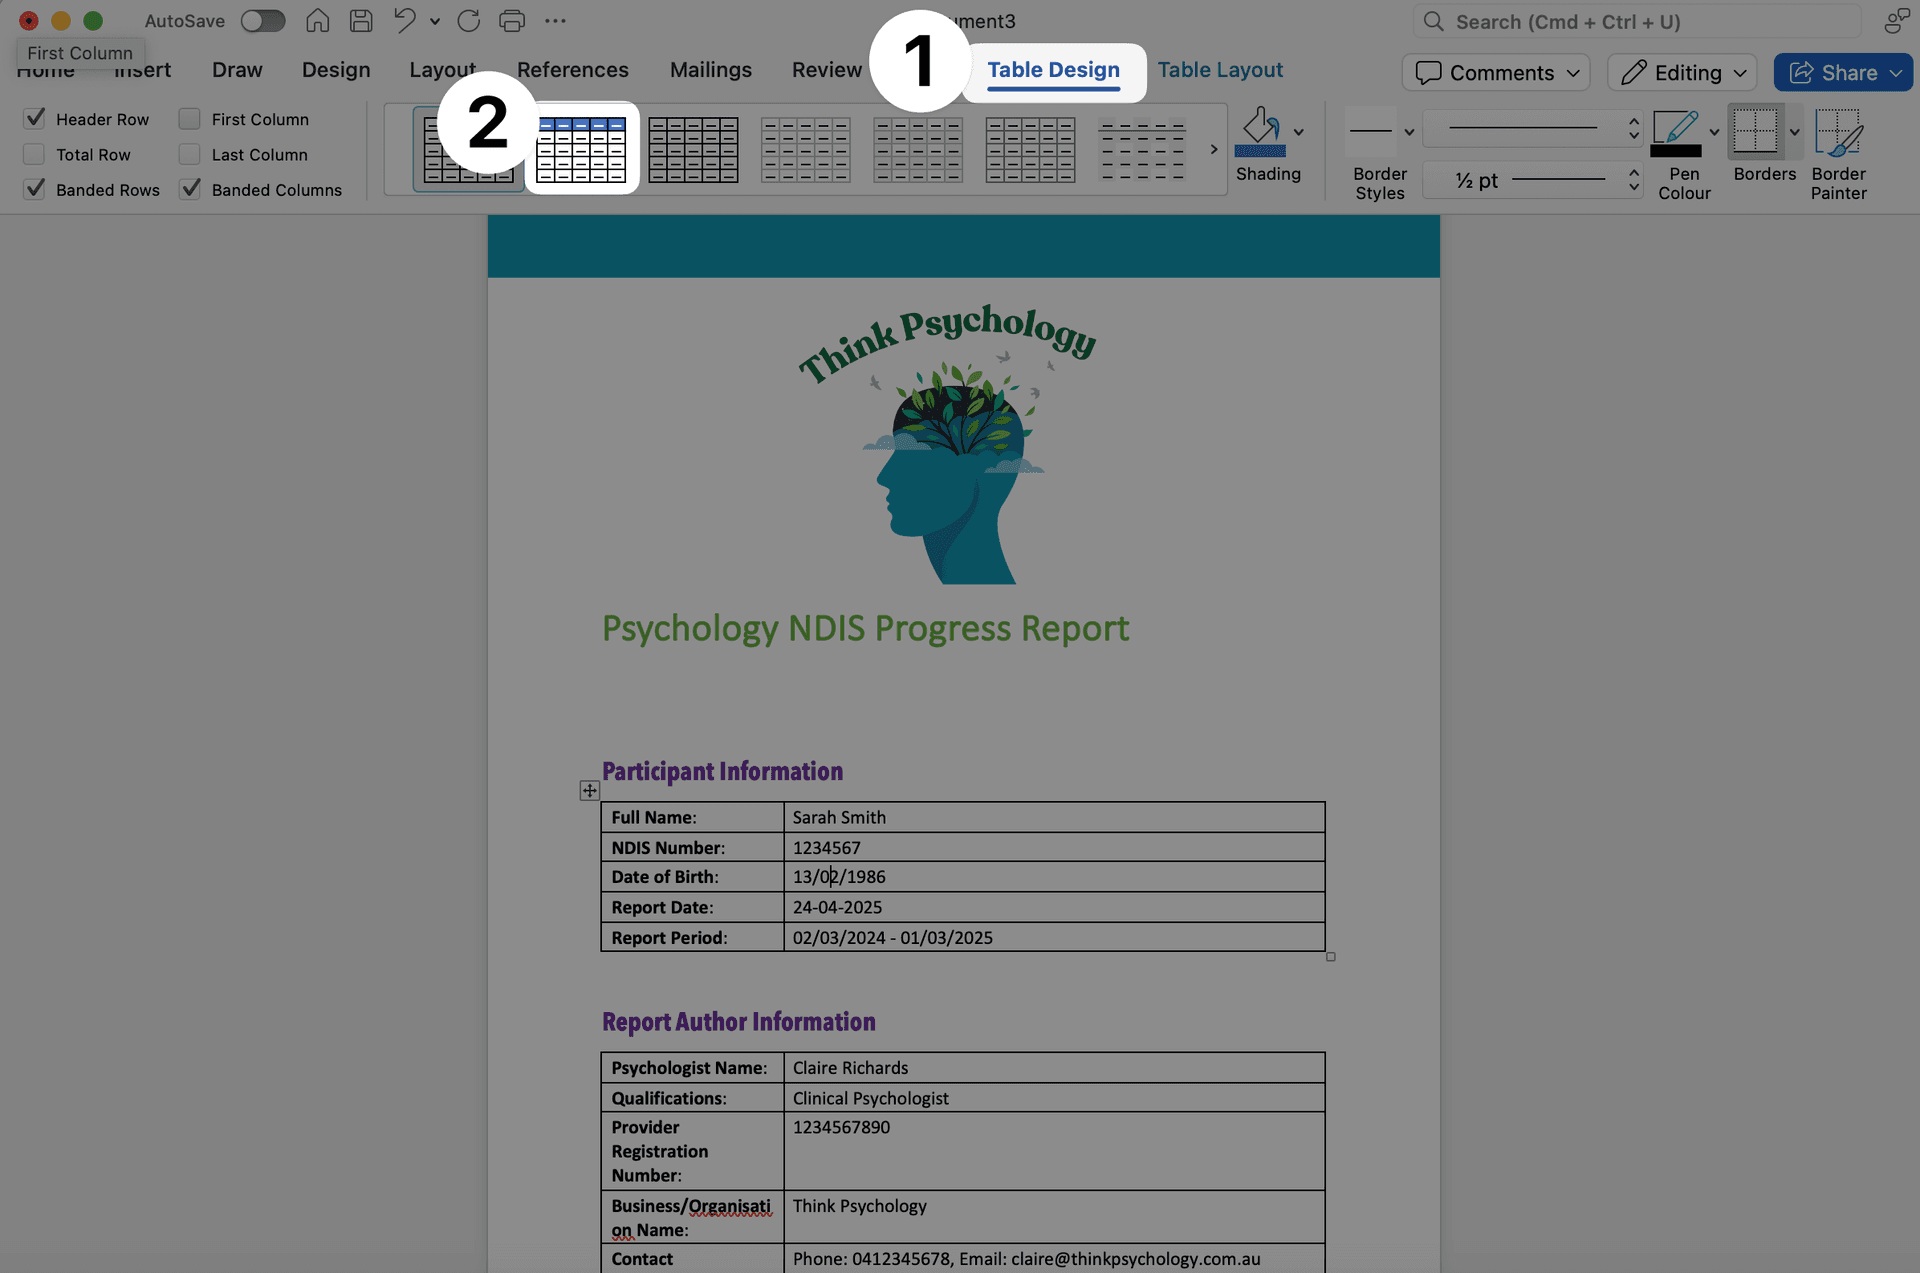
- For tables, click on the table you want to apply changes to. Select
Table Designand then click on the table design you want to apply.
Please reach out to support@everbility.com if you have any questions.
For a more detailed tutorial, please Click here to watch the tutorial.
Please note: In the tutorial, Everbility Co-Founder Angela uses the Everbility logo in her document. This is to show you how to add your own logo. You do not need to add the Everbility logo onto your document.
Feeling stuck? Book a demo here