Organisations
Manage an Organisation
Manage multiple accounts as part of an organisation.
Setting up an Organisation
What is an Organisation?
An organisation is a group of people who work together. In Everbility, you can create an organisation to share templates or clients to save time and efficiency.
This may be useful if you:
- work in a large organisation and want to share clients and report templates
- work in a clinic or small team and want to share clients and report templates
- supervise one or more therapists and want to oversee their clinical work
- work alongside admin staff and want to share clients and report templates for administration purposes
Create an Organisation
Everbility can enable organisations to manage multiple accounts under one administrator. To create an organisation, log in to the administrator's account and go to the Manage account console, then click Organisation on the lefthand menu.
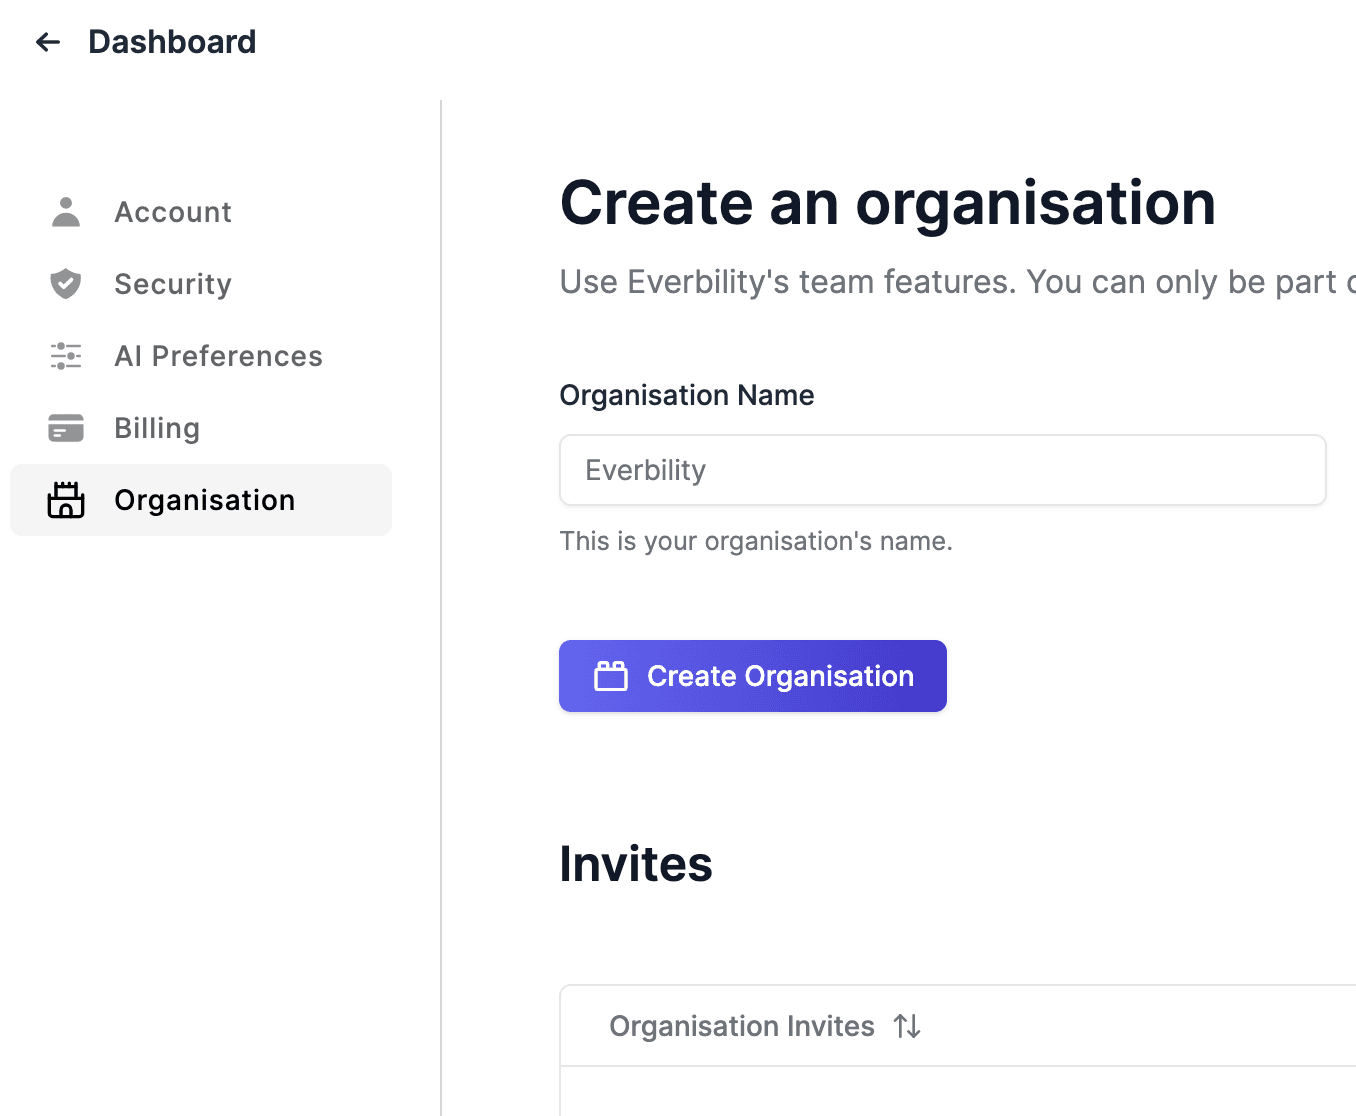
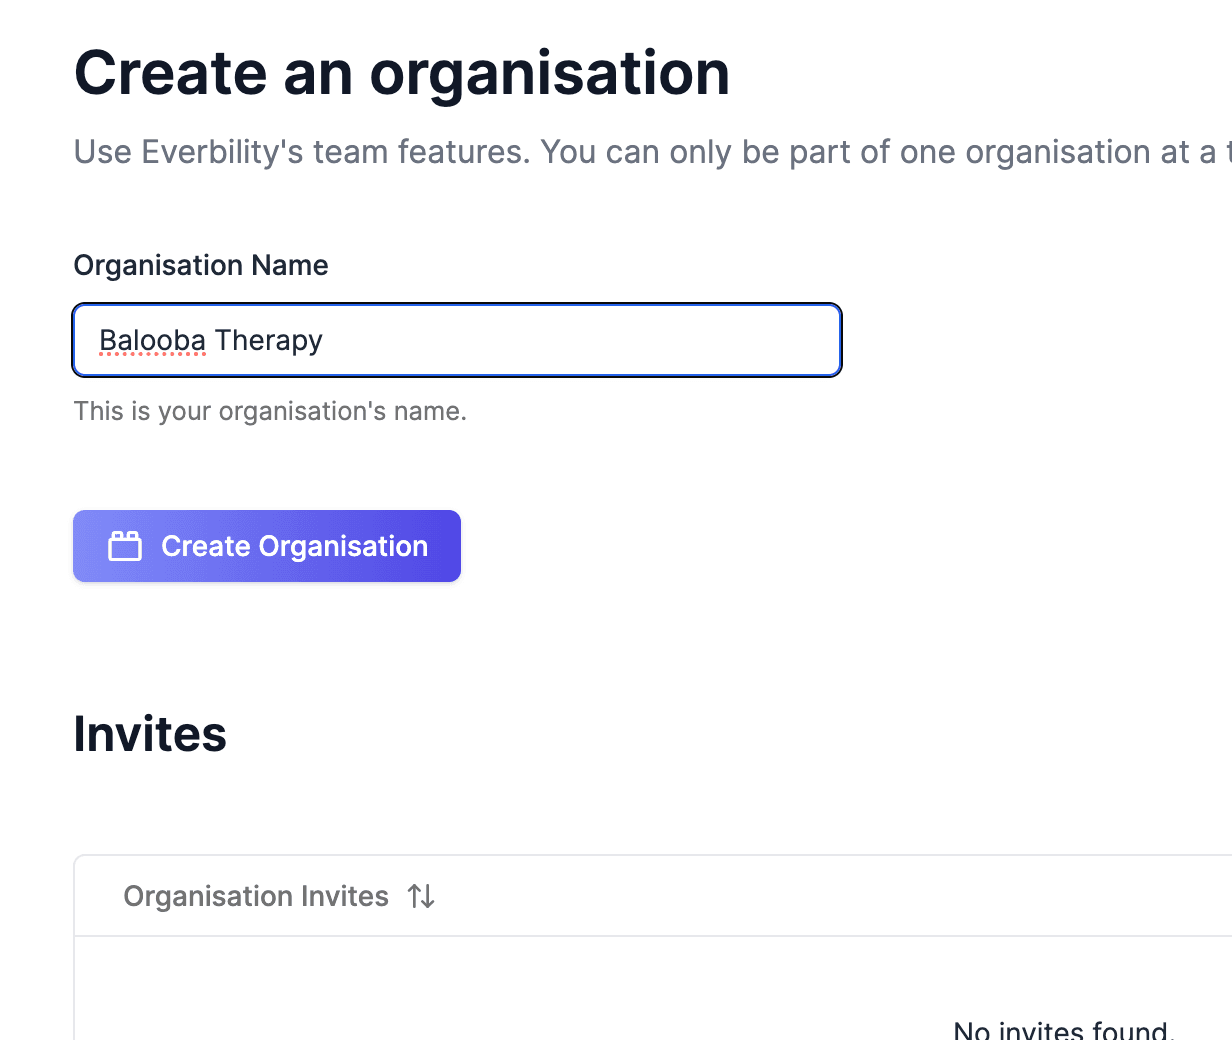
To create an organisation, give your organisation a name and click Create Organisation.
Finally, set the number of licenses your organisation will need and click Update Licenses. This will be reflected in your organisation's billing and will enable you to invite up to as many organisation members as you have licenses.
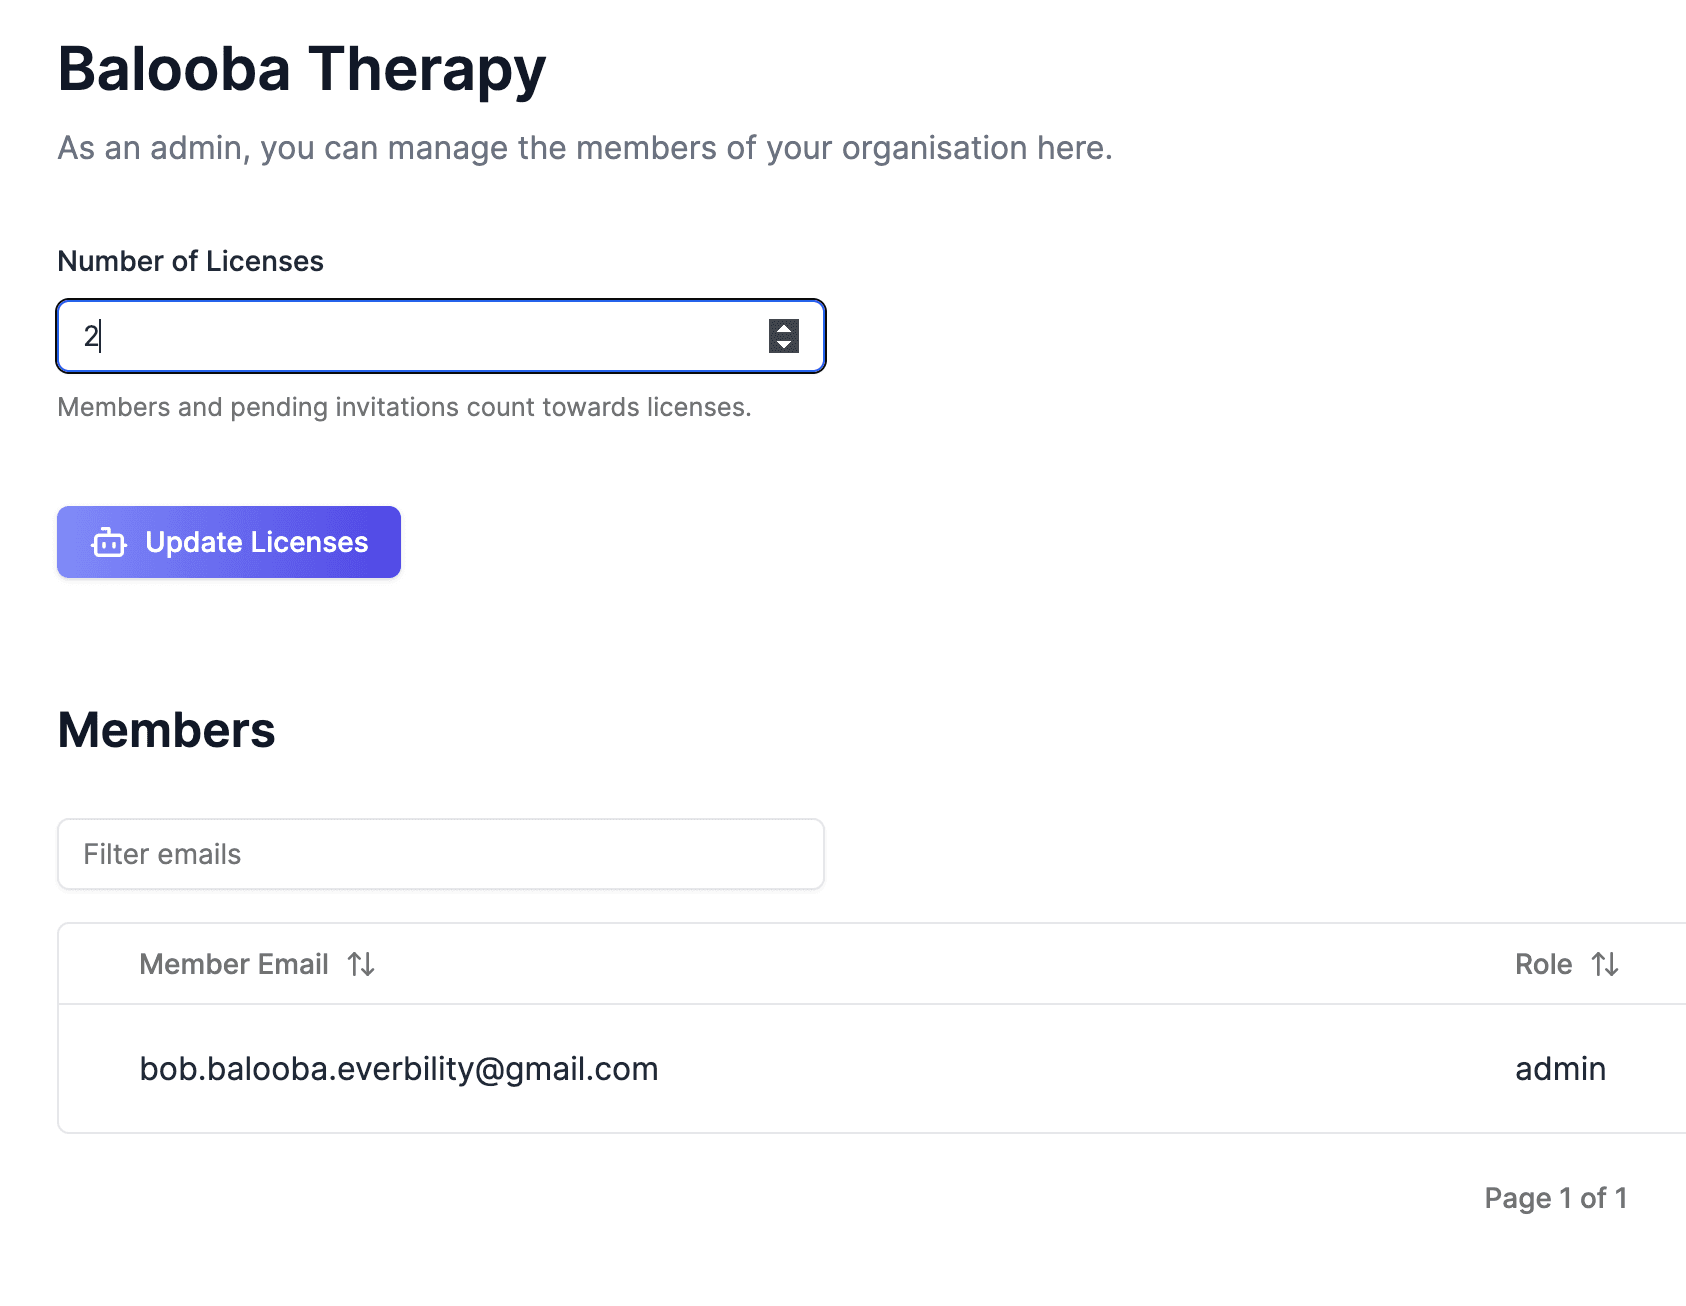
Invoicing for all members of an organisation is managed under the administrator's account.
Invite Members
Now that you have created your organisation, you can invite members to join. To do this, scroll down to the Invitations section and click Invite team member, then type in the email address of the person you want to invite and confirm by clicking Invite team member within the pop-up.
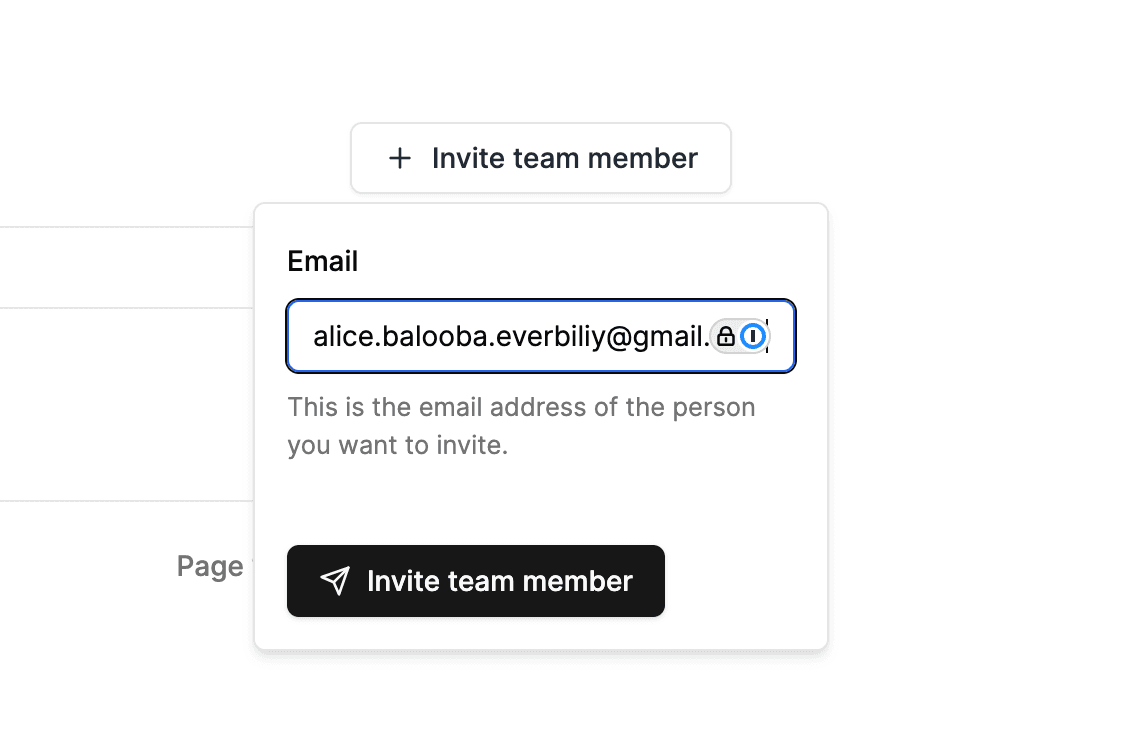
Your team member will receive a confirmation email and their email address will appear in the Invitations section until they accept the invitation.
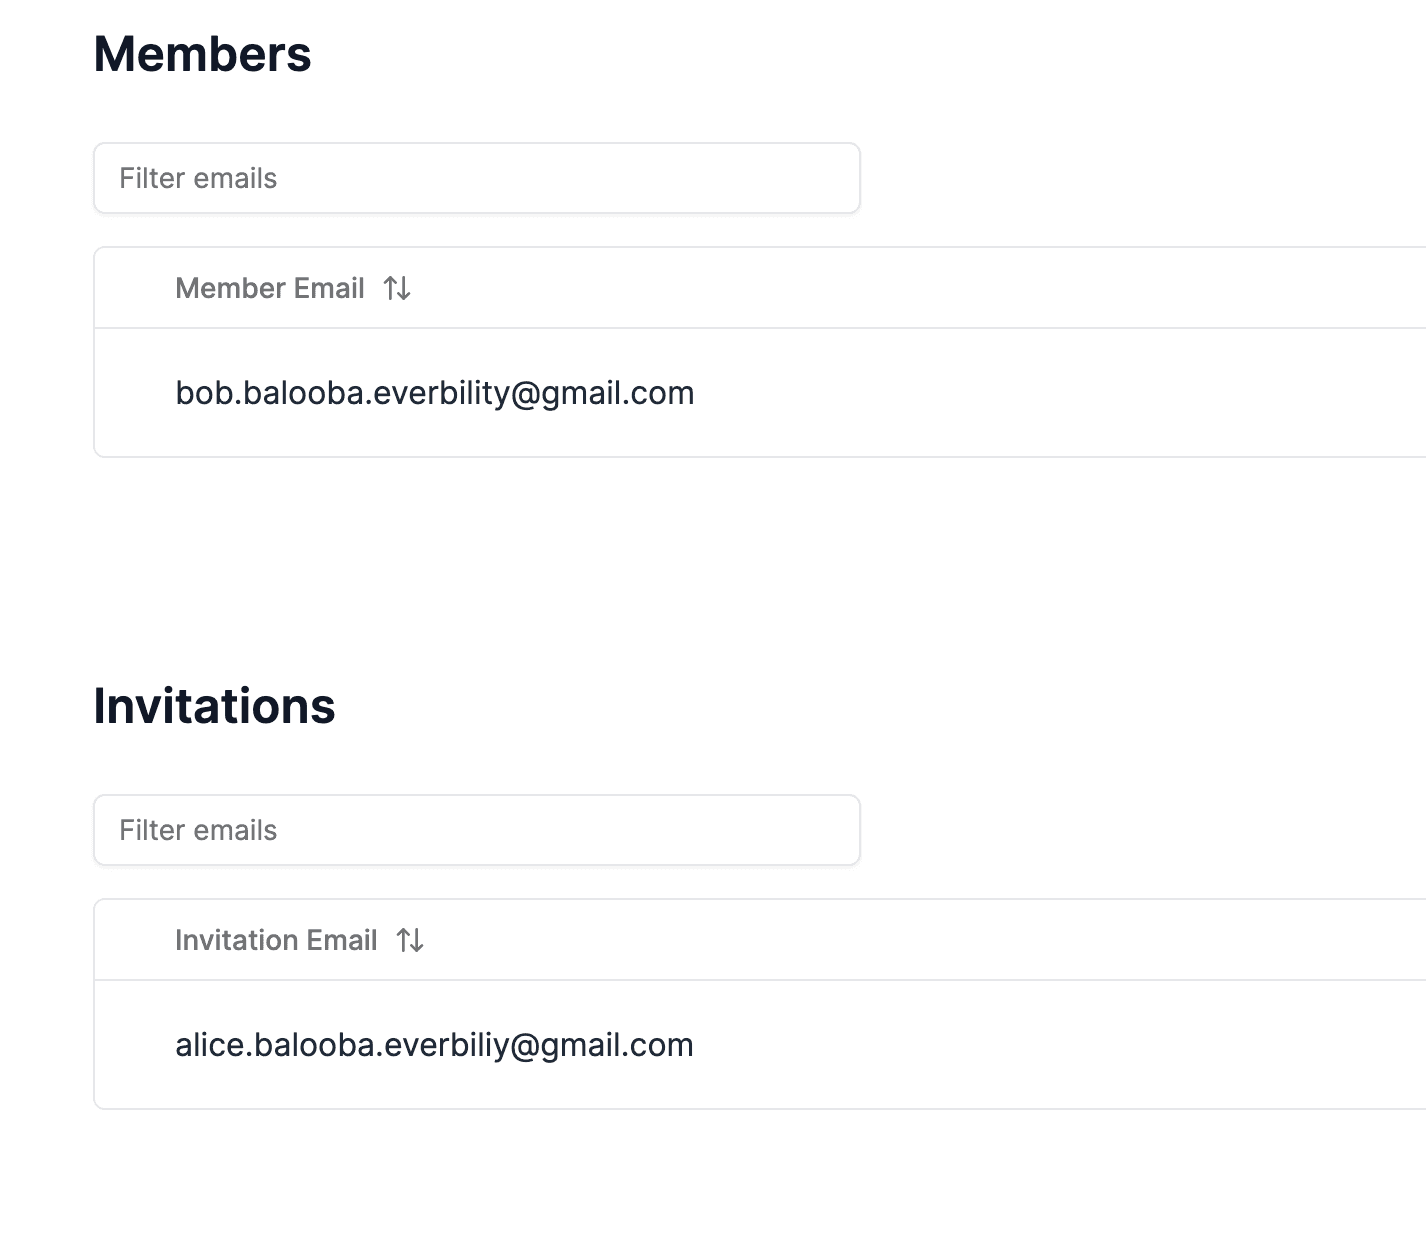
To join an organisation after being invited, log in and go to the Manage account console, then click Organisation on the lefthand menu and check the Invites section. If you have an active invite, you can click the green Accept Invite button to join.

After accepting the invitation, your team member's email address will move to the Members section and they will be able to access the organisation's resources.
Remove Members
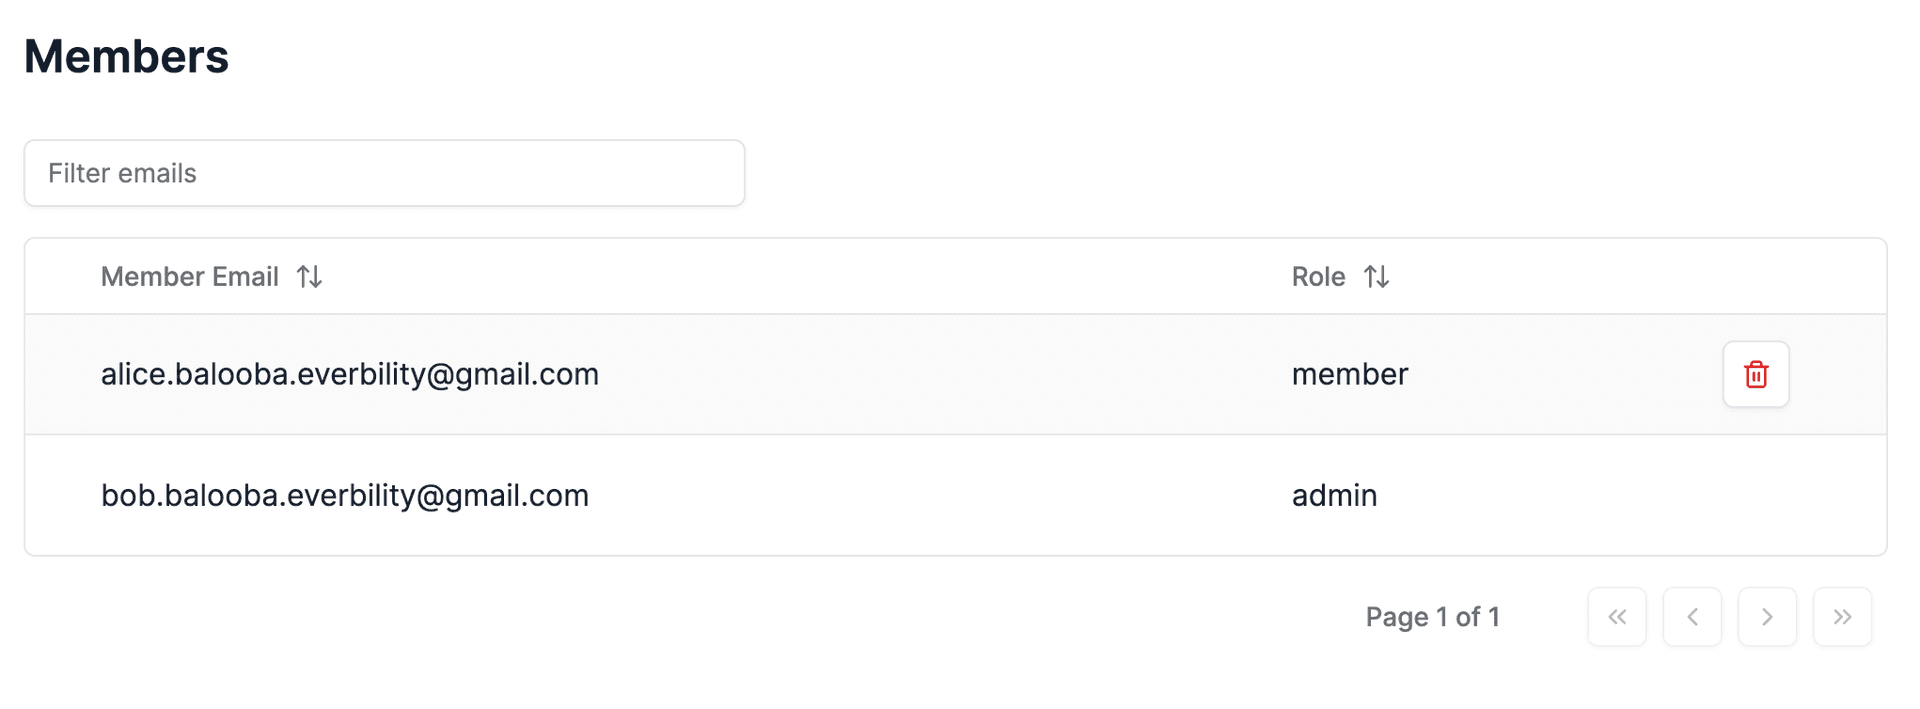
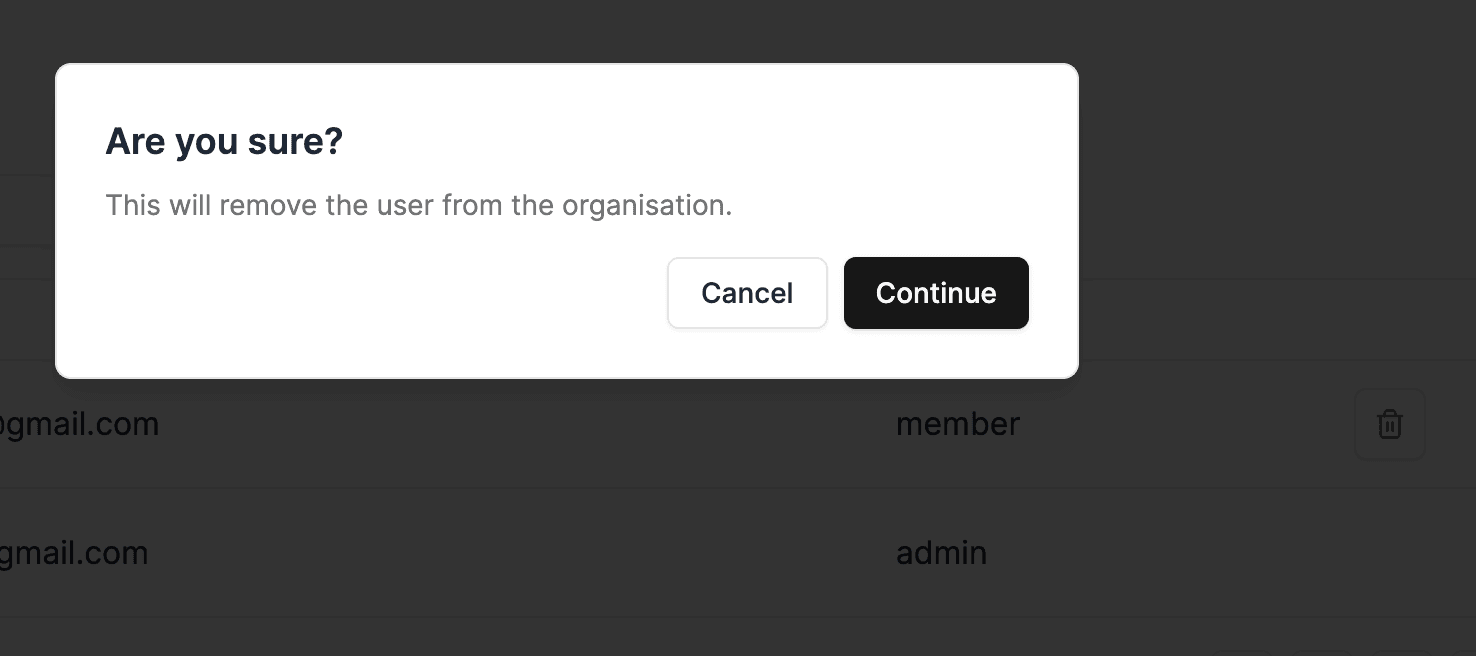
To remove a member from your organisation, you can find their email address in the Members section and click the Remove button next to them (it looks like a red bin icon) and confirm via the pop-up.
Organisations cannot be deleted or renamed after being created. If you need to make any changes to your organisation, please reach out to mani@everbility.com.
Feeling stuck? Book a demo here